

How to make a calligraphy flourishing Christmas wreath
Christmas wreath - a step-by-step
blog post
Hi friends,
In today’s blog post, I’ll walk you through a step-by-step process into making a Christmas wreath with offhand flourishing details. And because is December - the first month of winter, we can add some snowy effects. Here in the UK snows very rarely, but all my childhood memories in my homebirth country Moldova are all about snowy winters. I have to confess - I love snow, and my dream is to spend a winter holiday in the mountains somewhere in Switzerland, Austria or even Romania (my husband’s country).
So, let’s get started.
Firstly, you can use any paper colour you love and ink colours. Have fun, create, you’ll be amazed how unique each wreath will be.
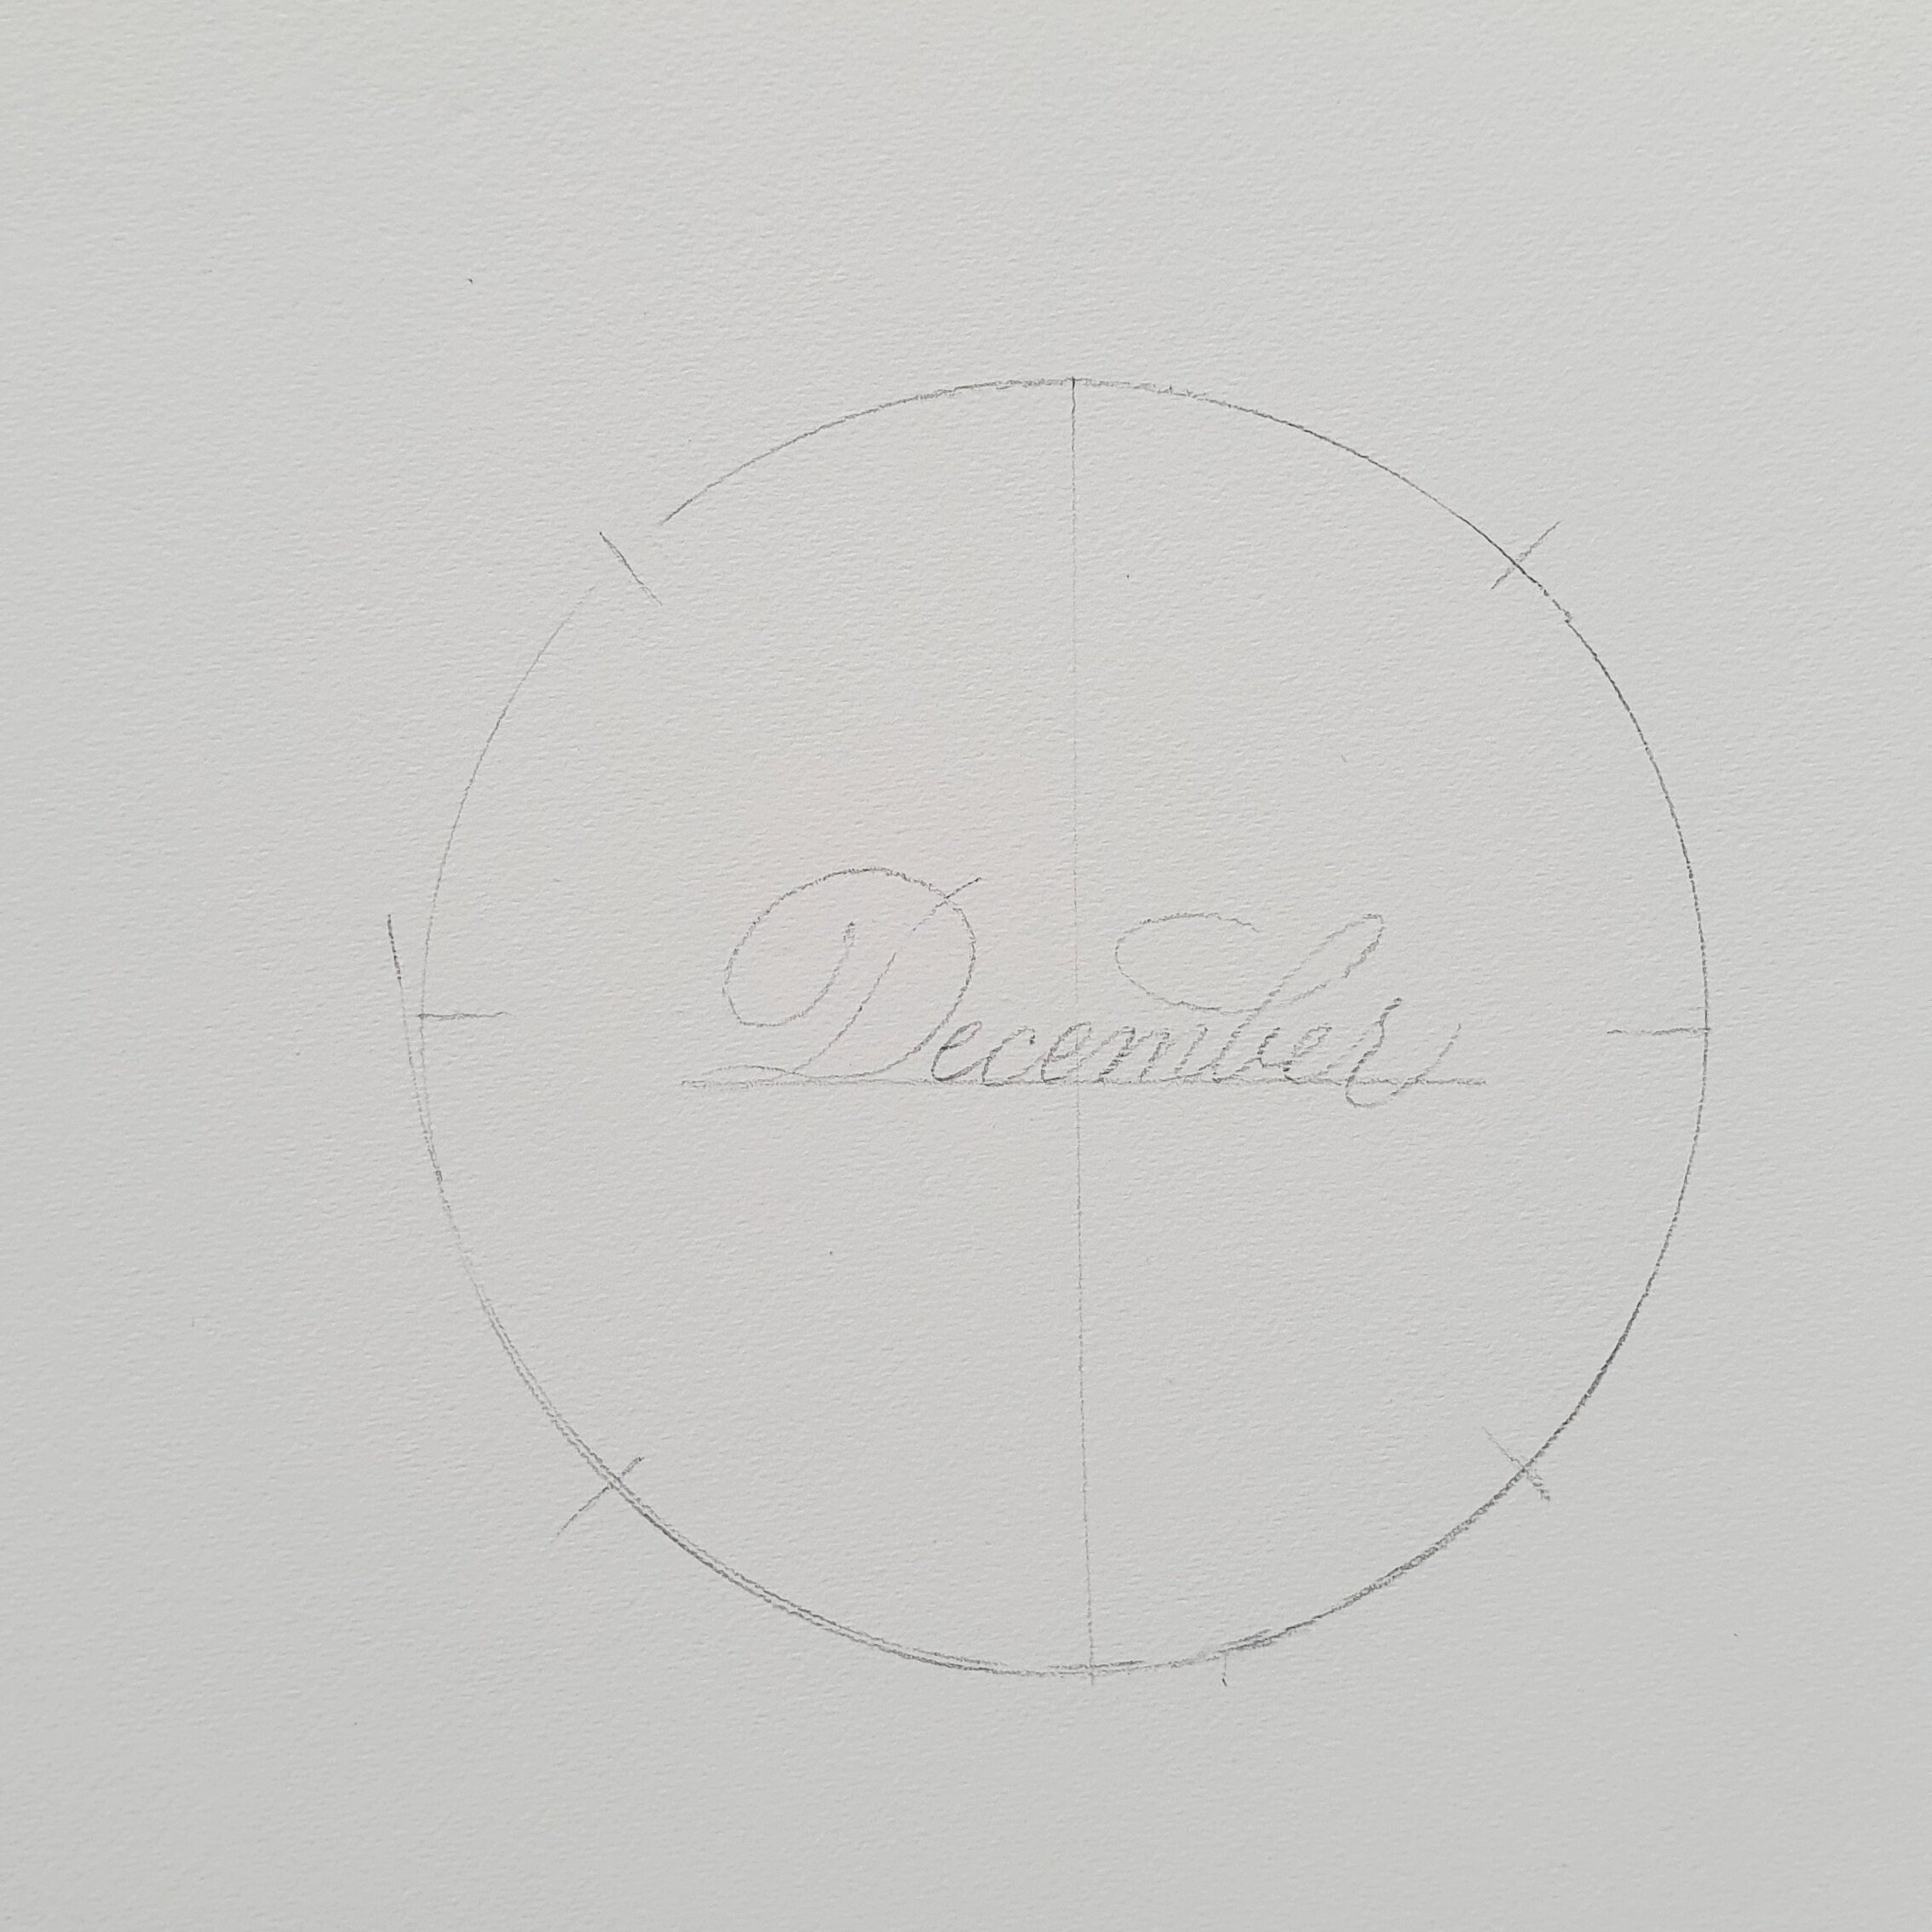
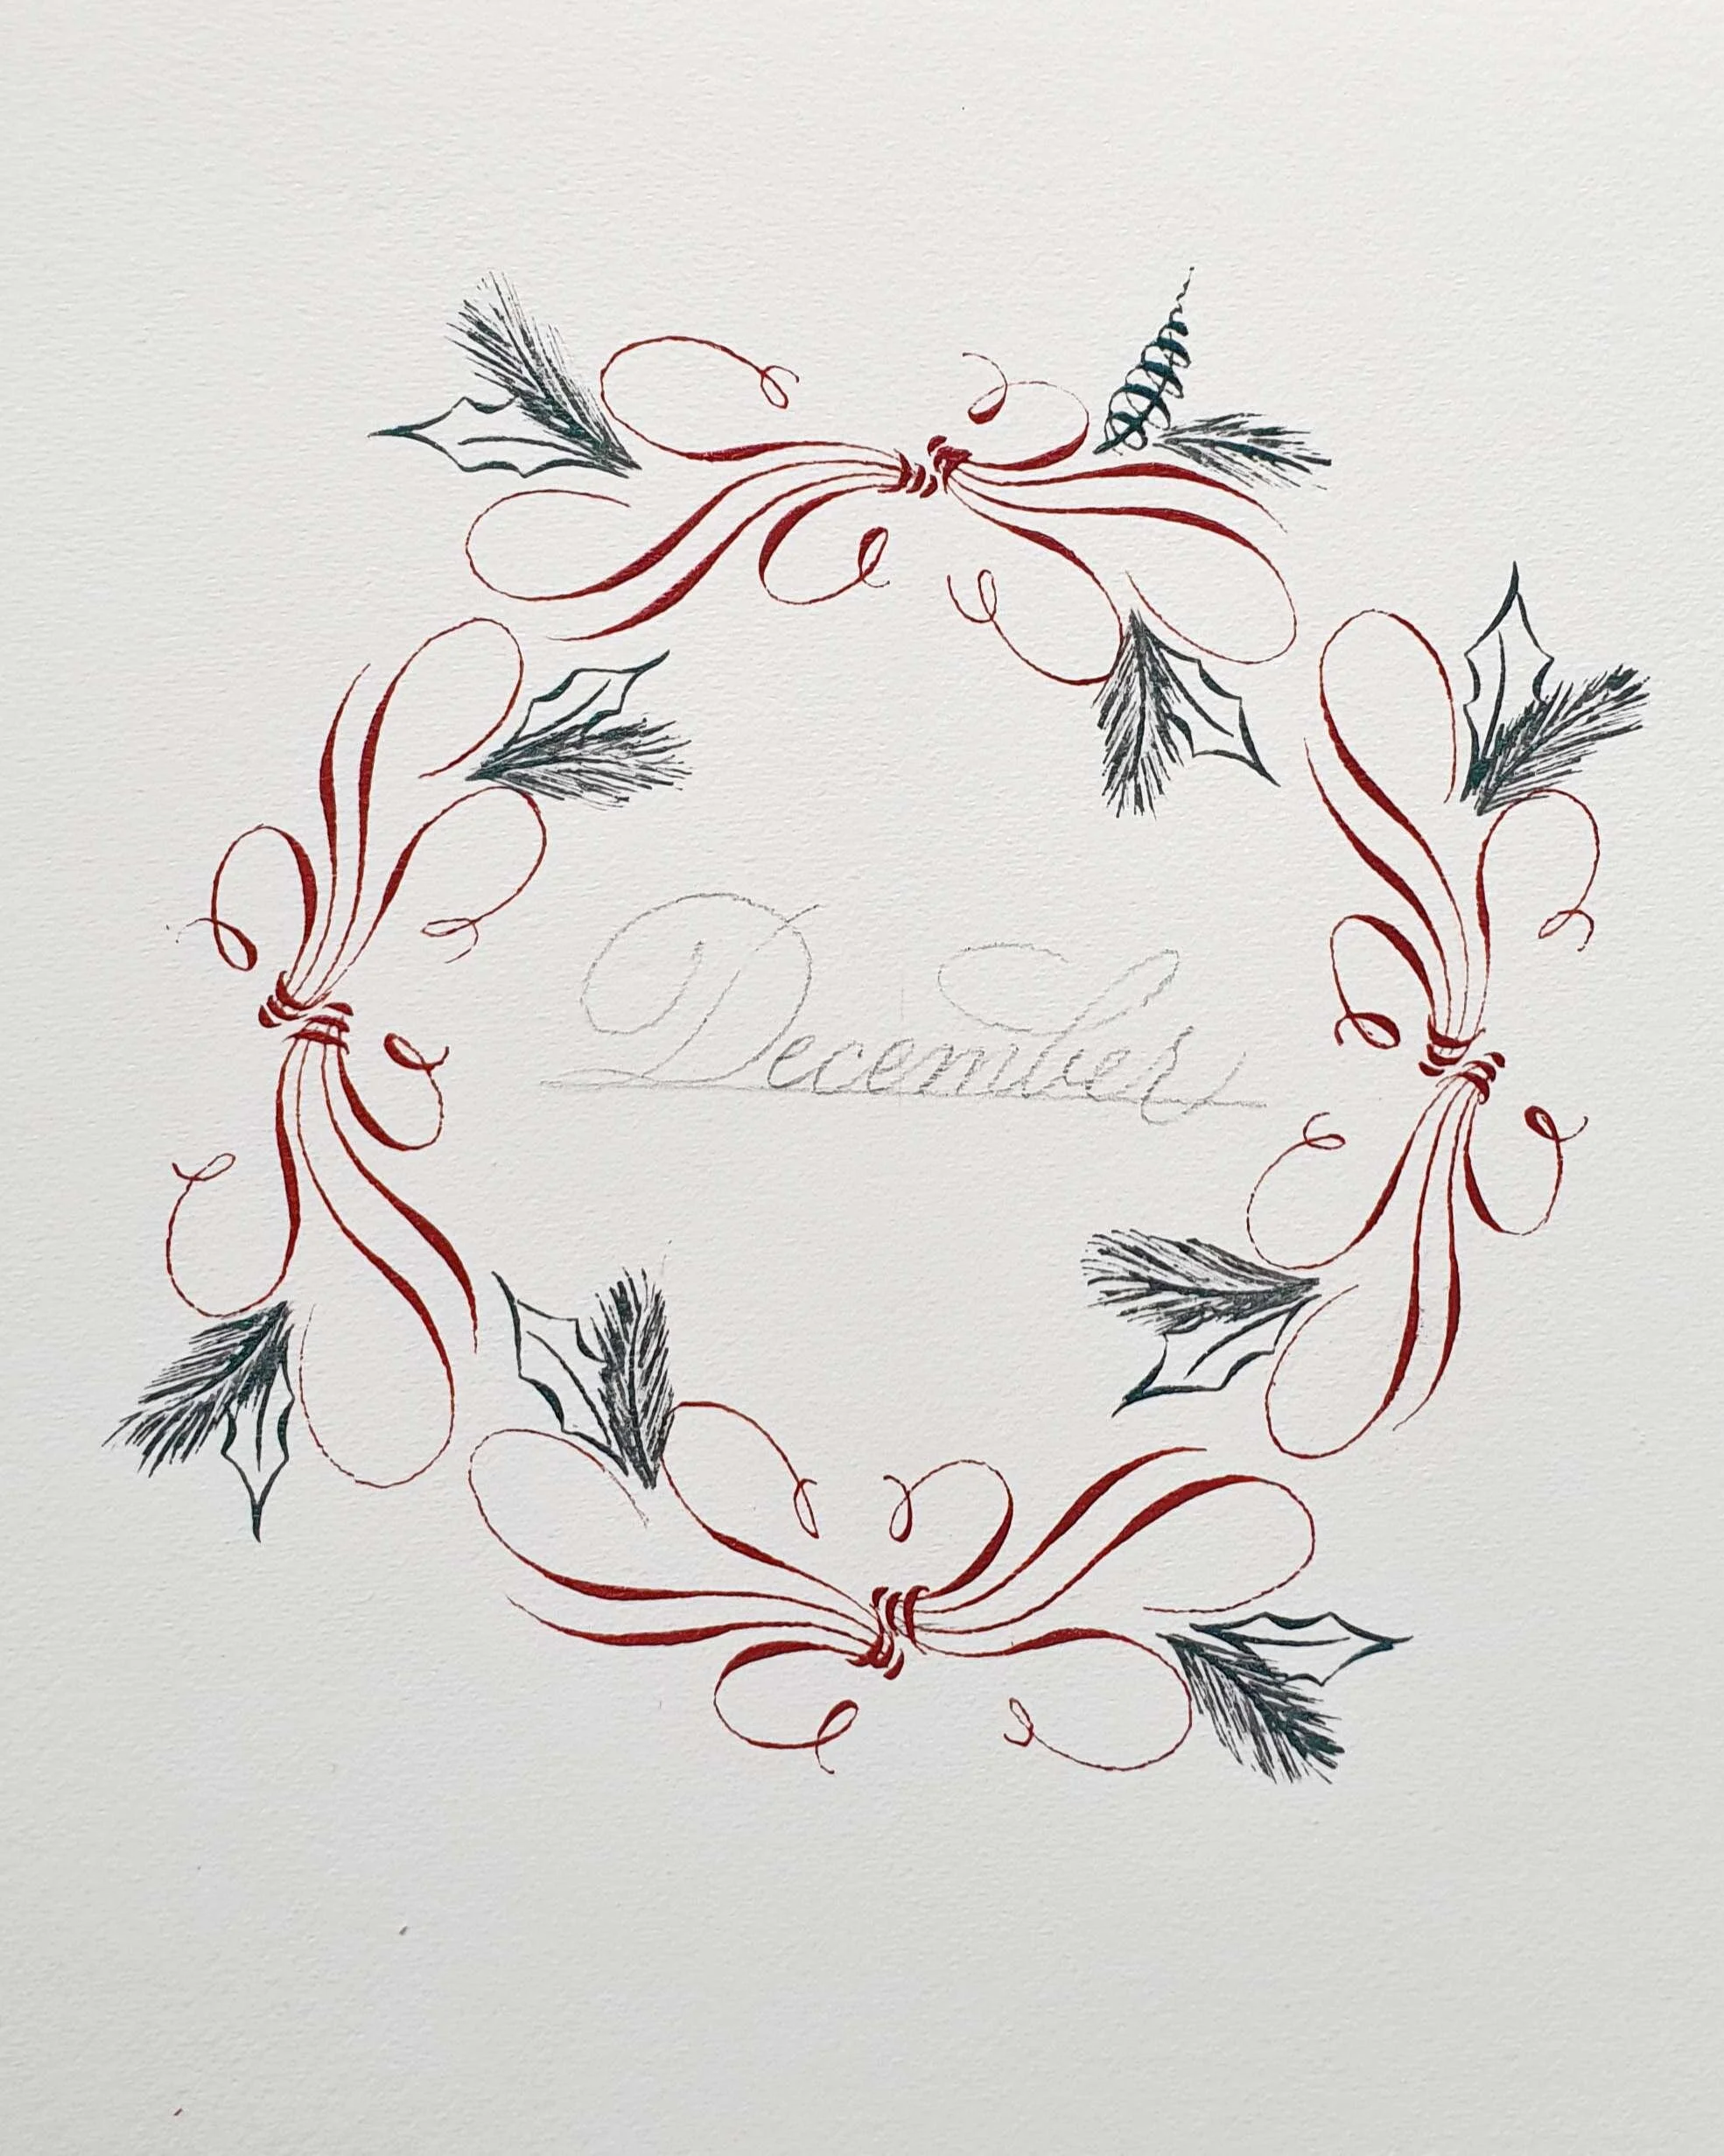
1. Draw a circle in pencil in any size you like. Make some marks for 8 equal parts and write in the centre your preferred word.
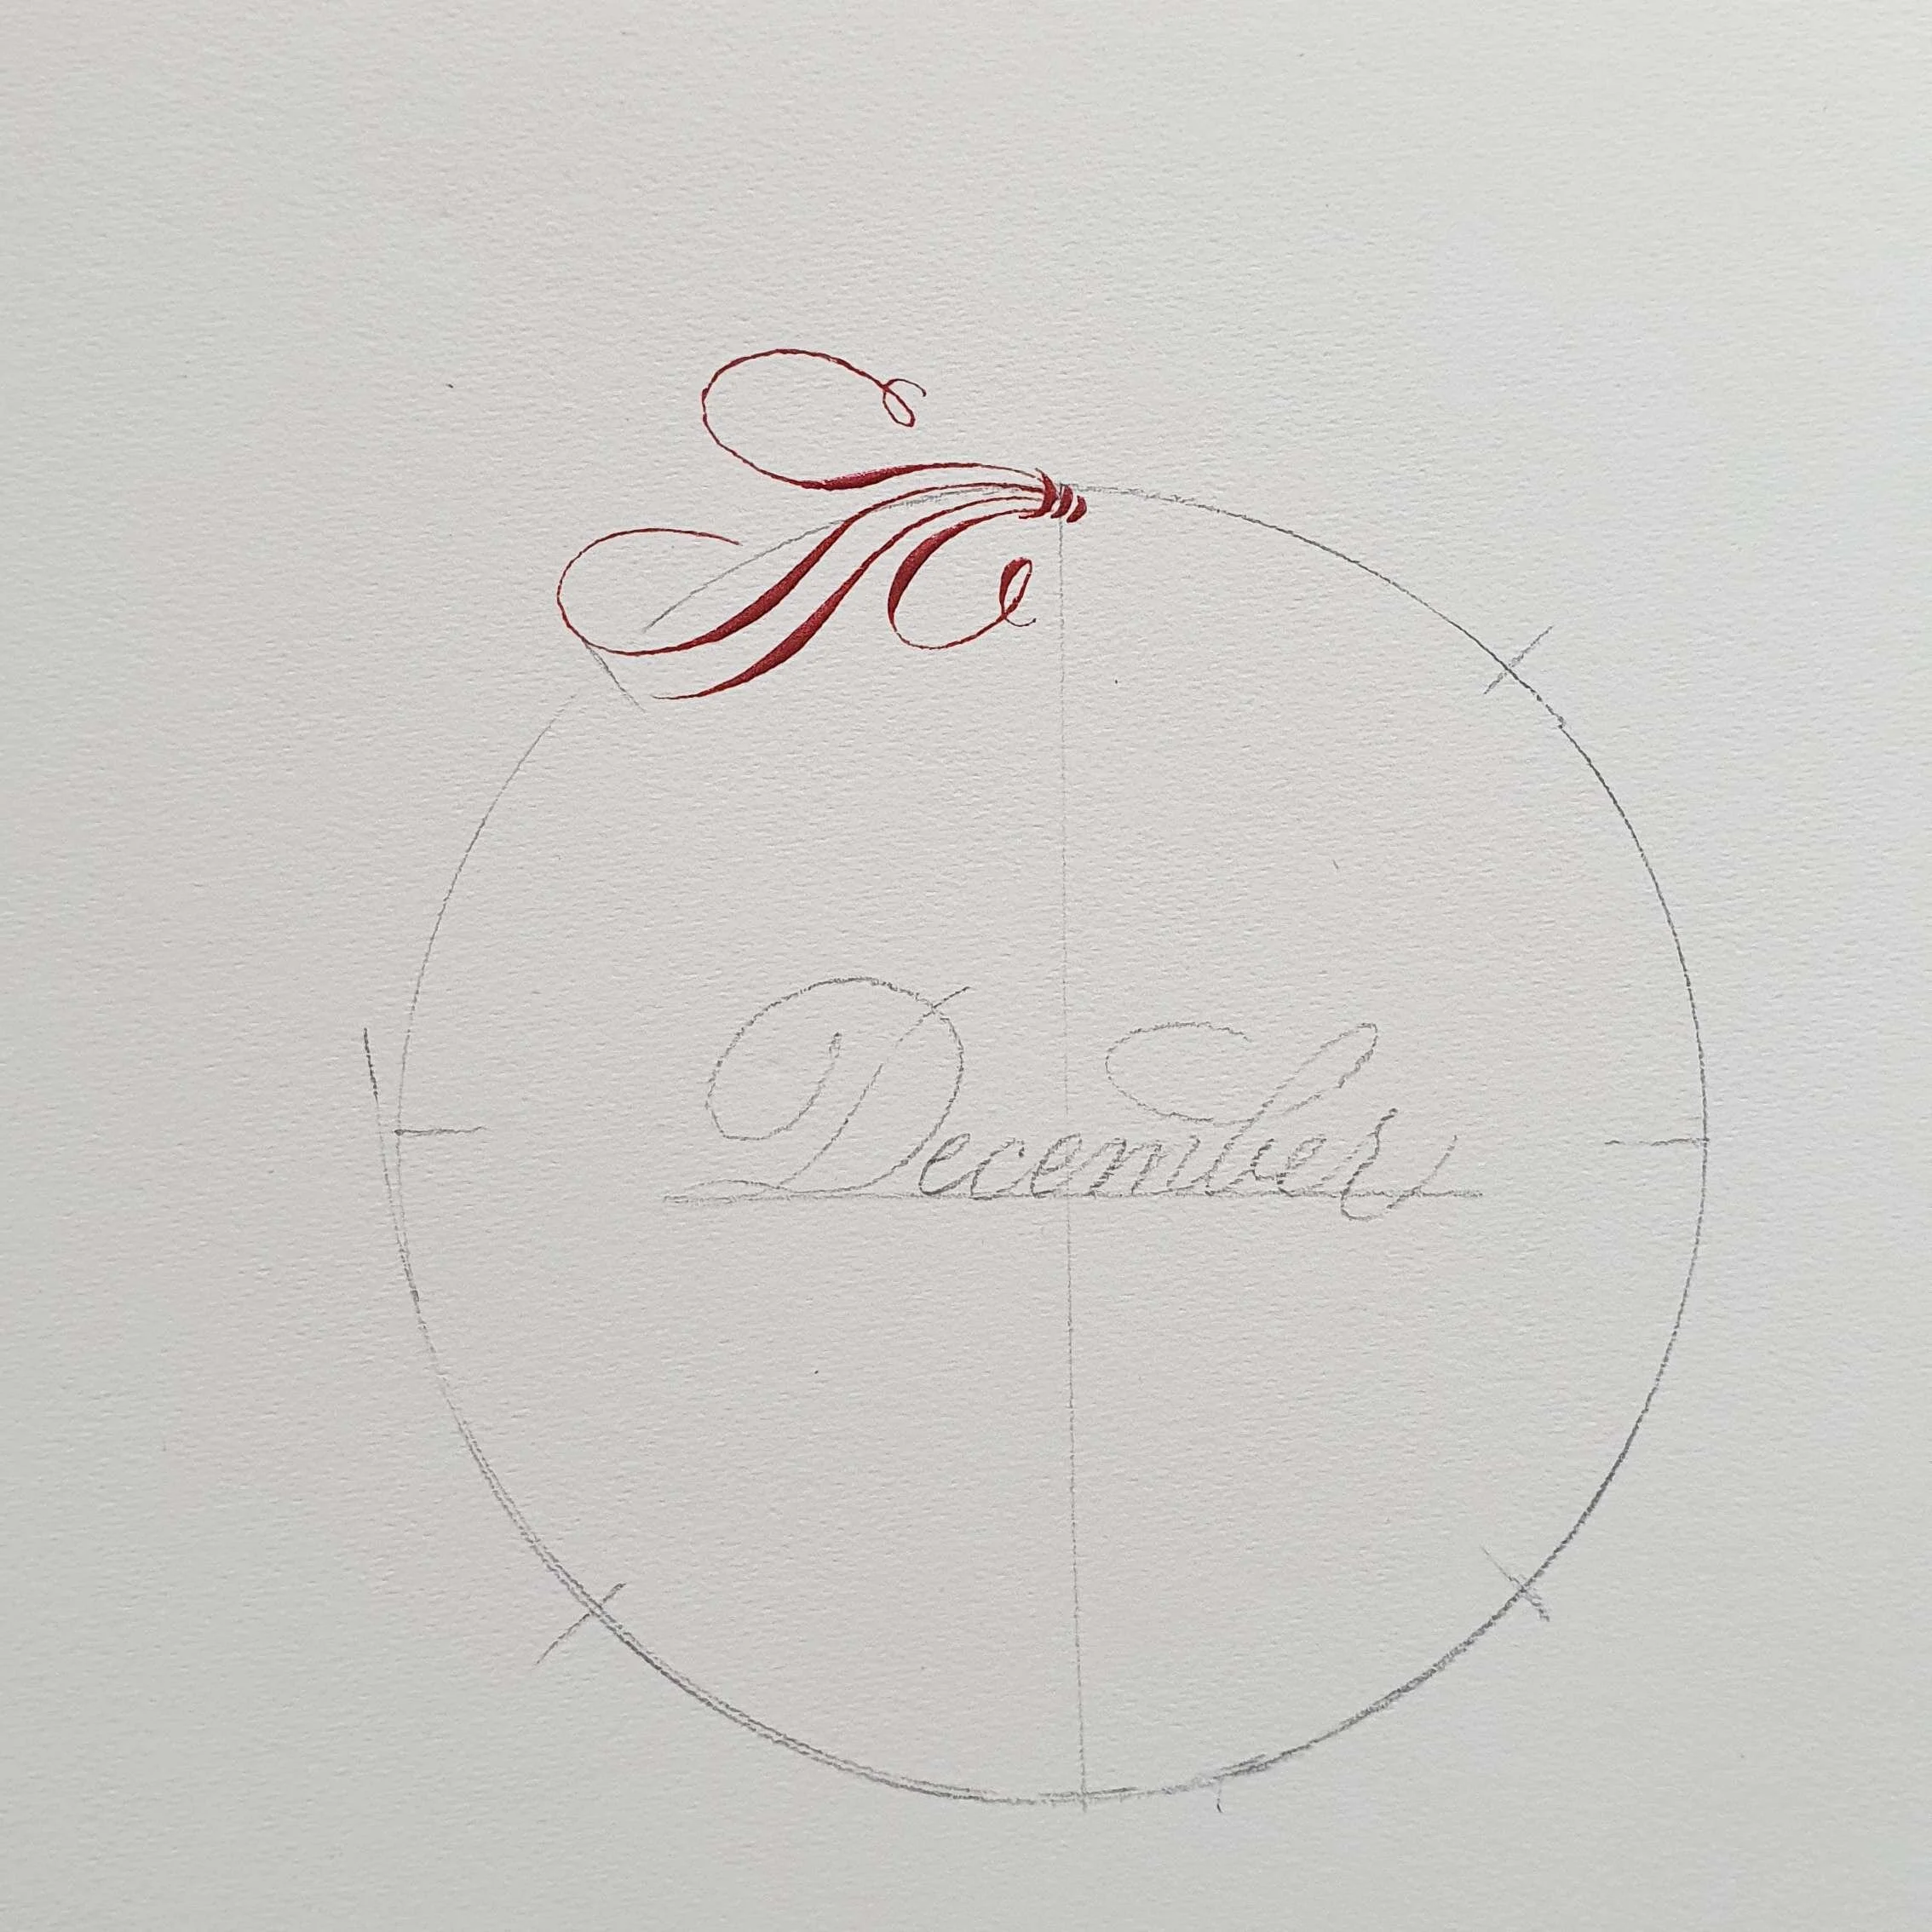
2. We start at the top by adding cartouches. If you wonder what a cartouche is, here is a quick 2-minute video for you. The ink colour is a type of red from the Coliro range.
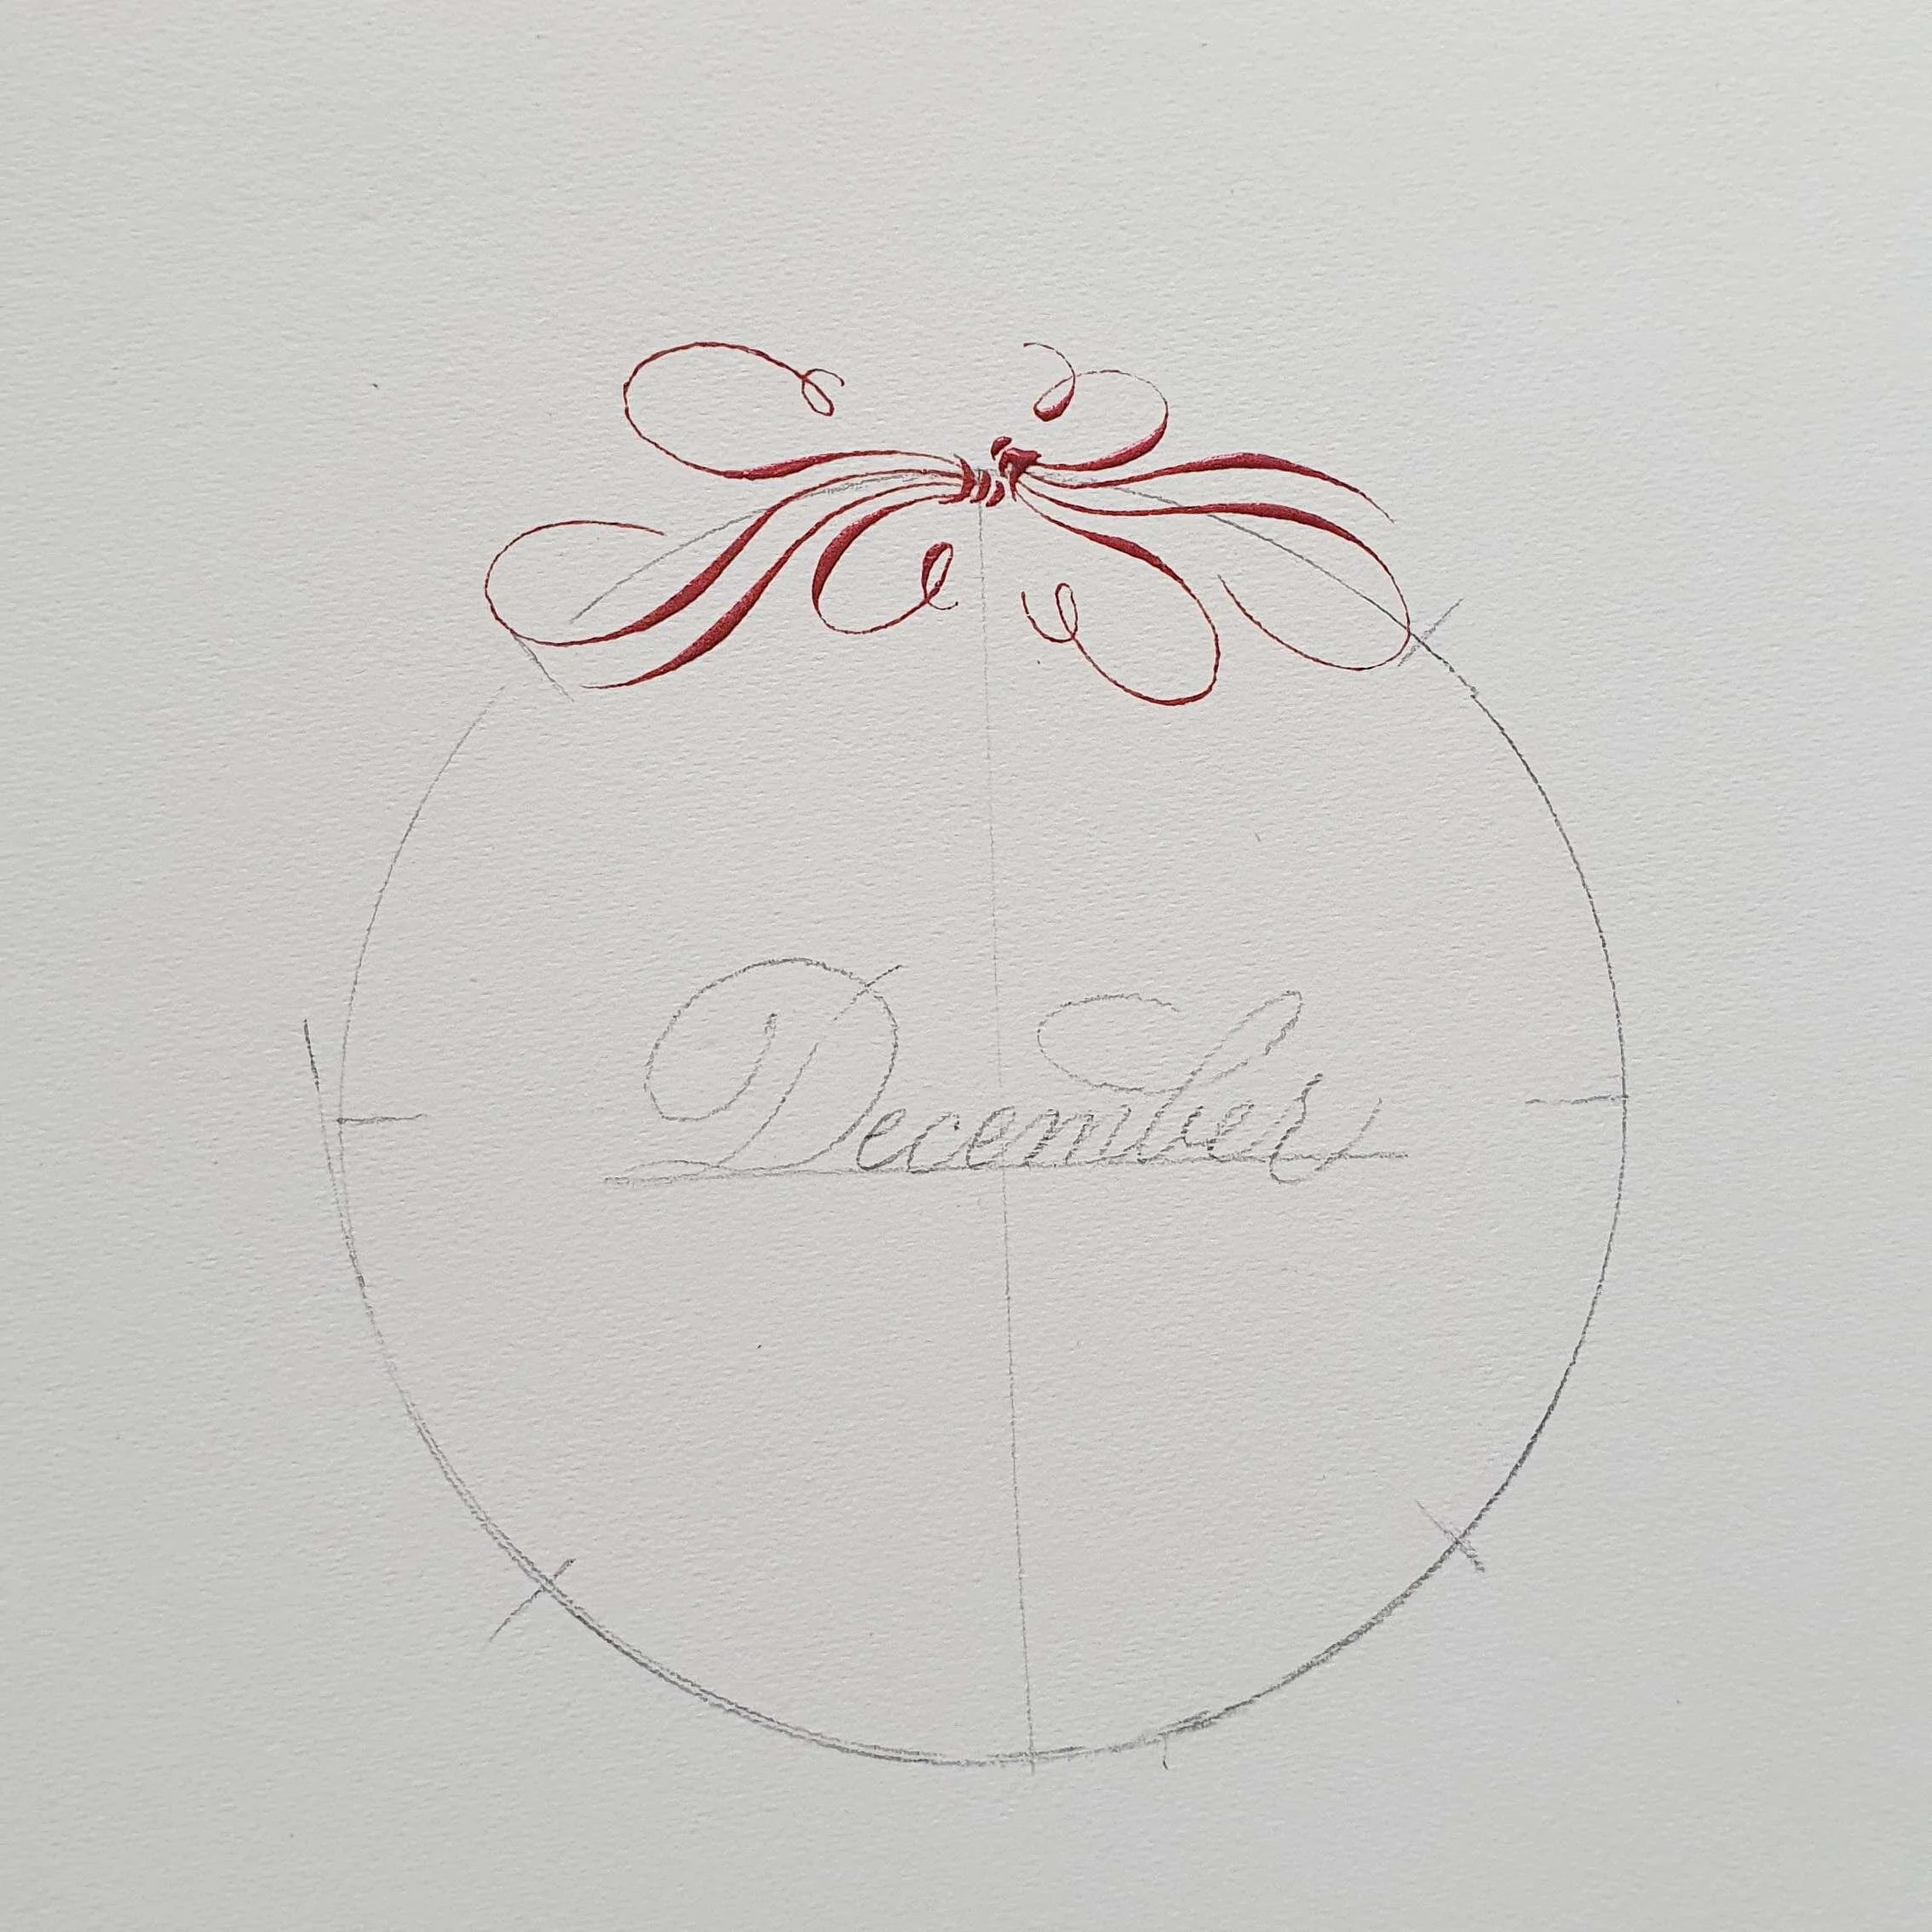
3. Rotate the paper as needed and add another cartouche in the opposite direction.
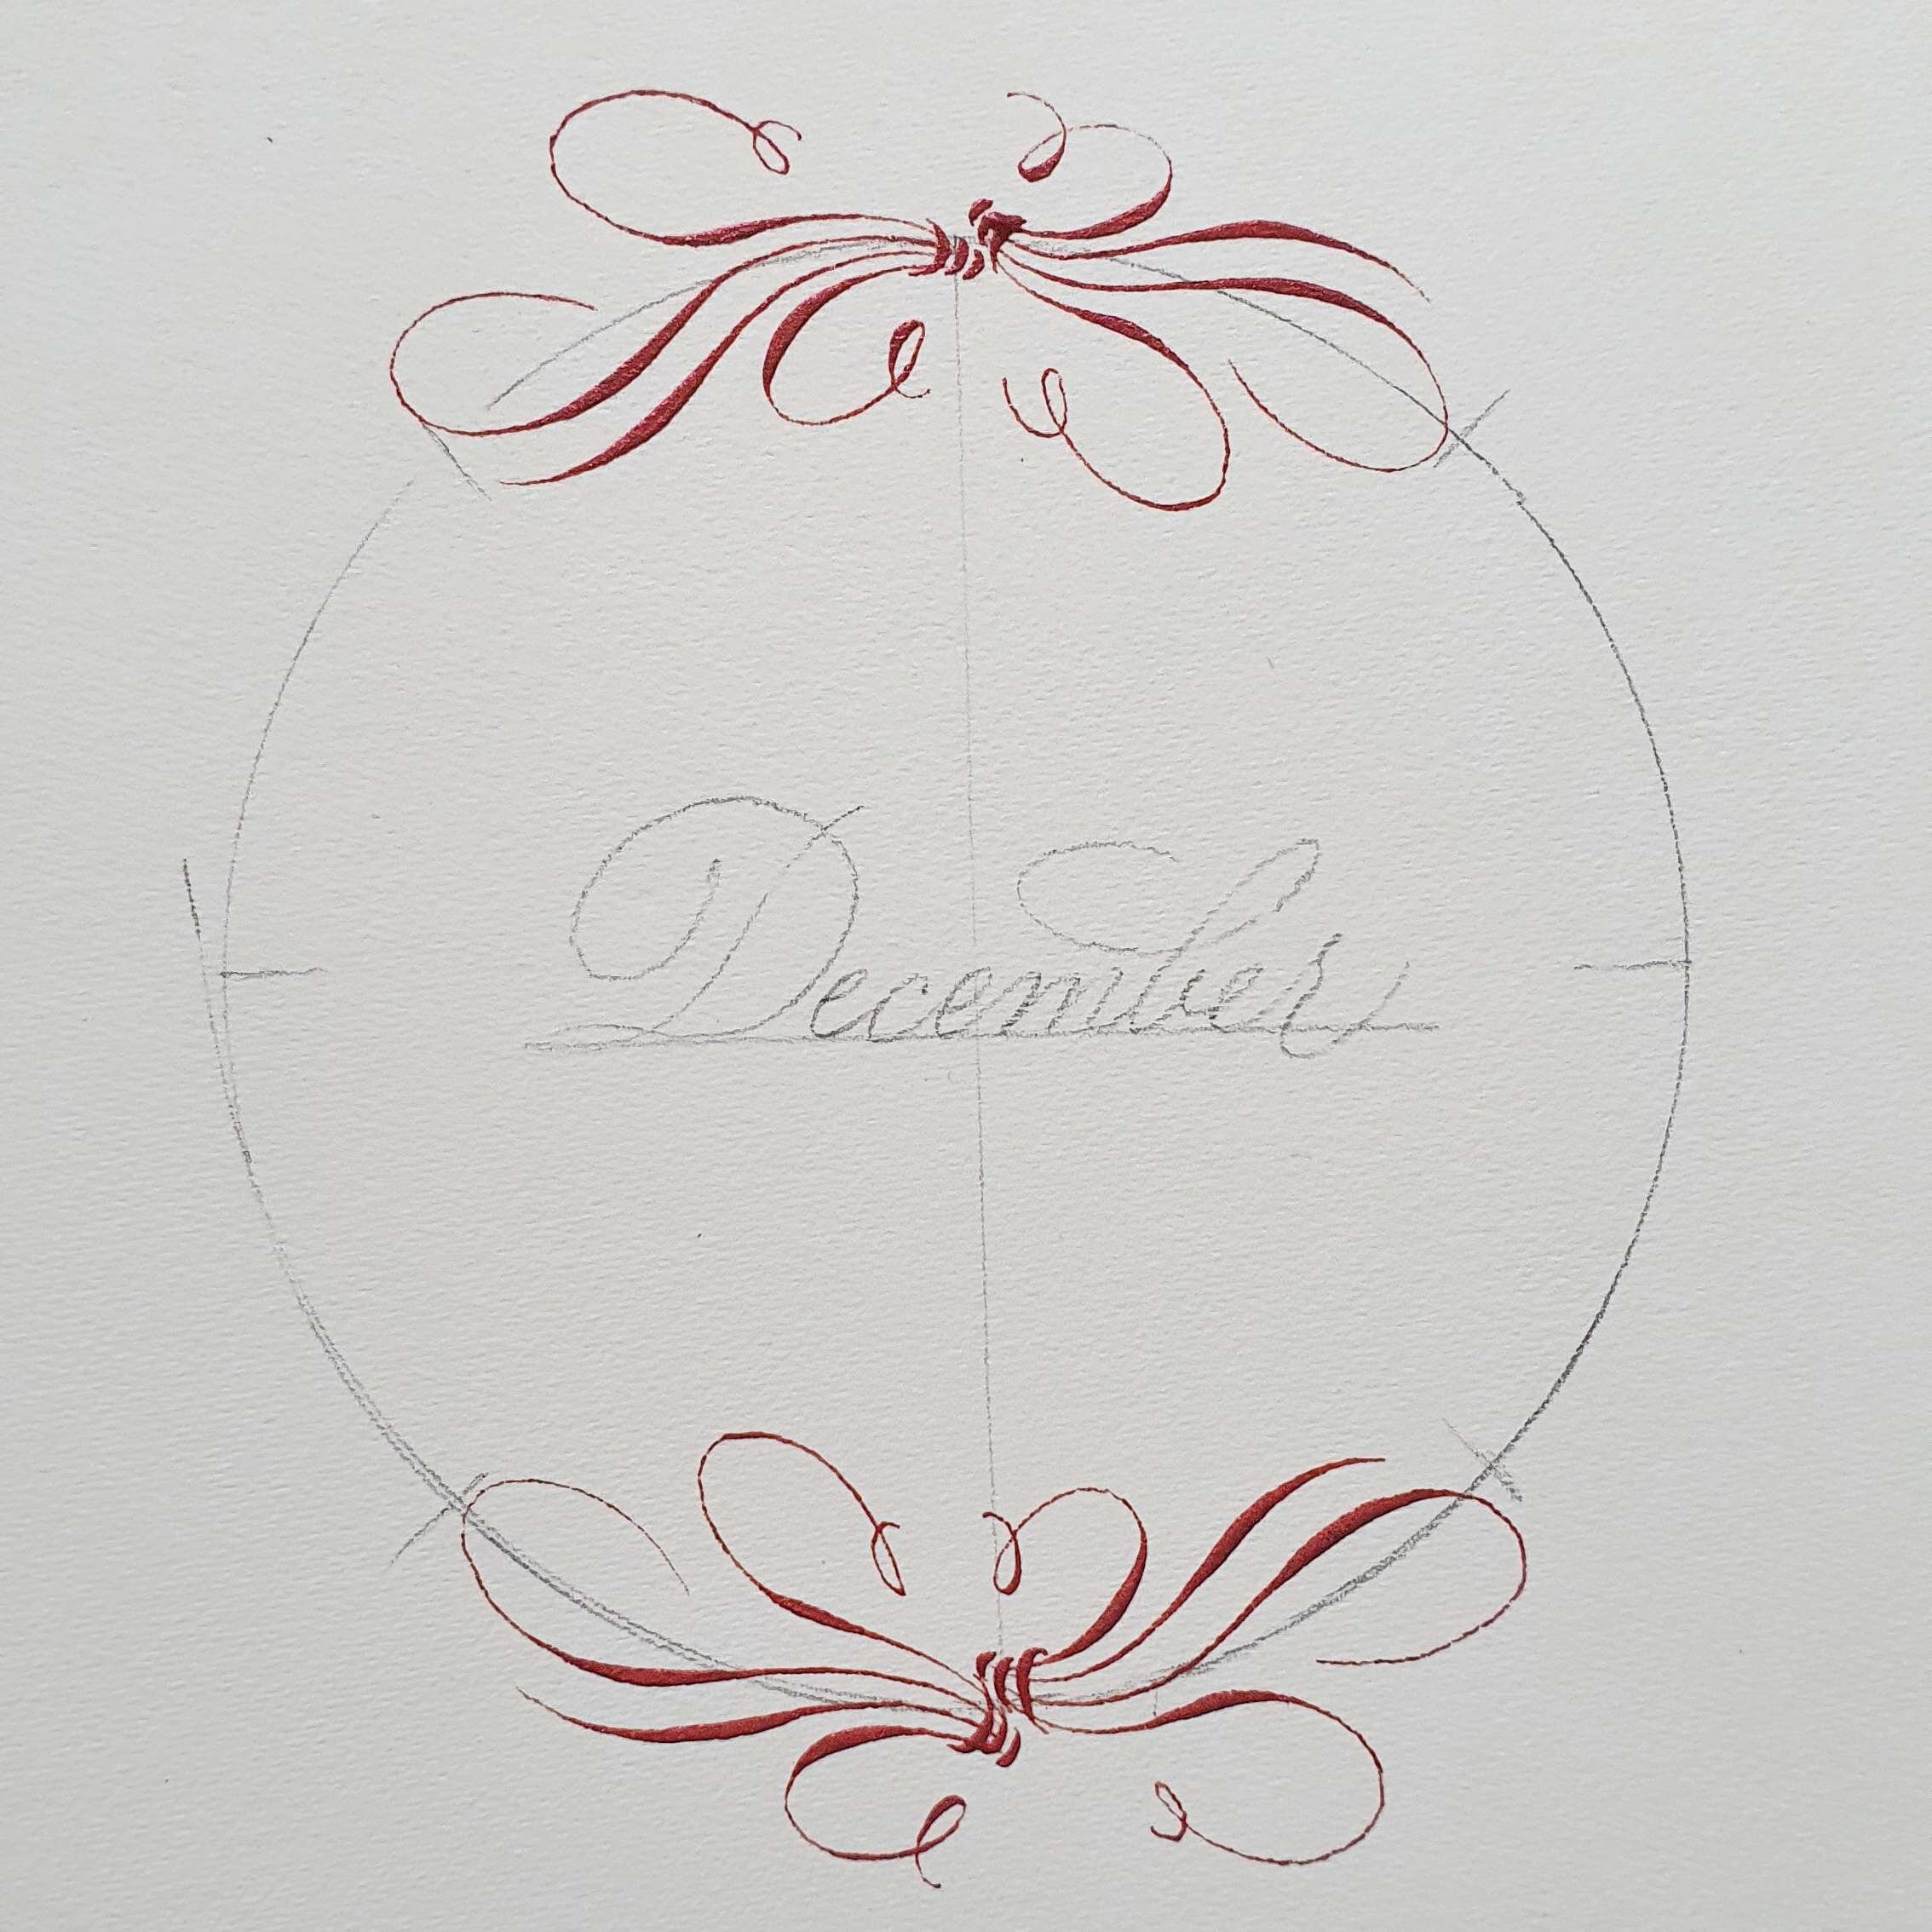
4. Repeat the same step and add a set of cartouches on the bottom.

5. Next, add a set of cartouches to the right of the circle
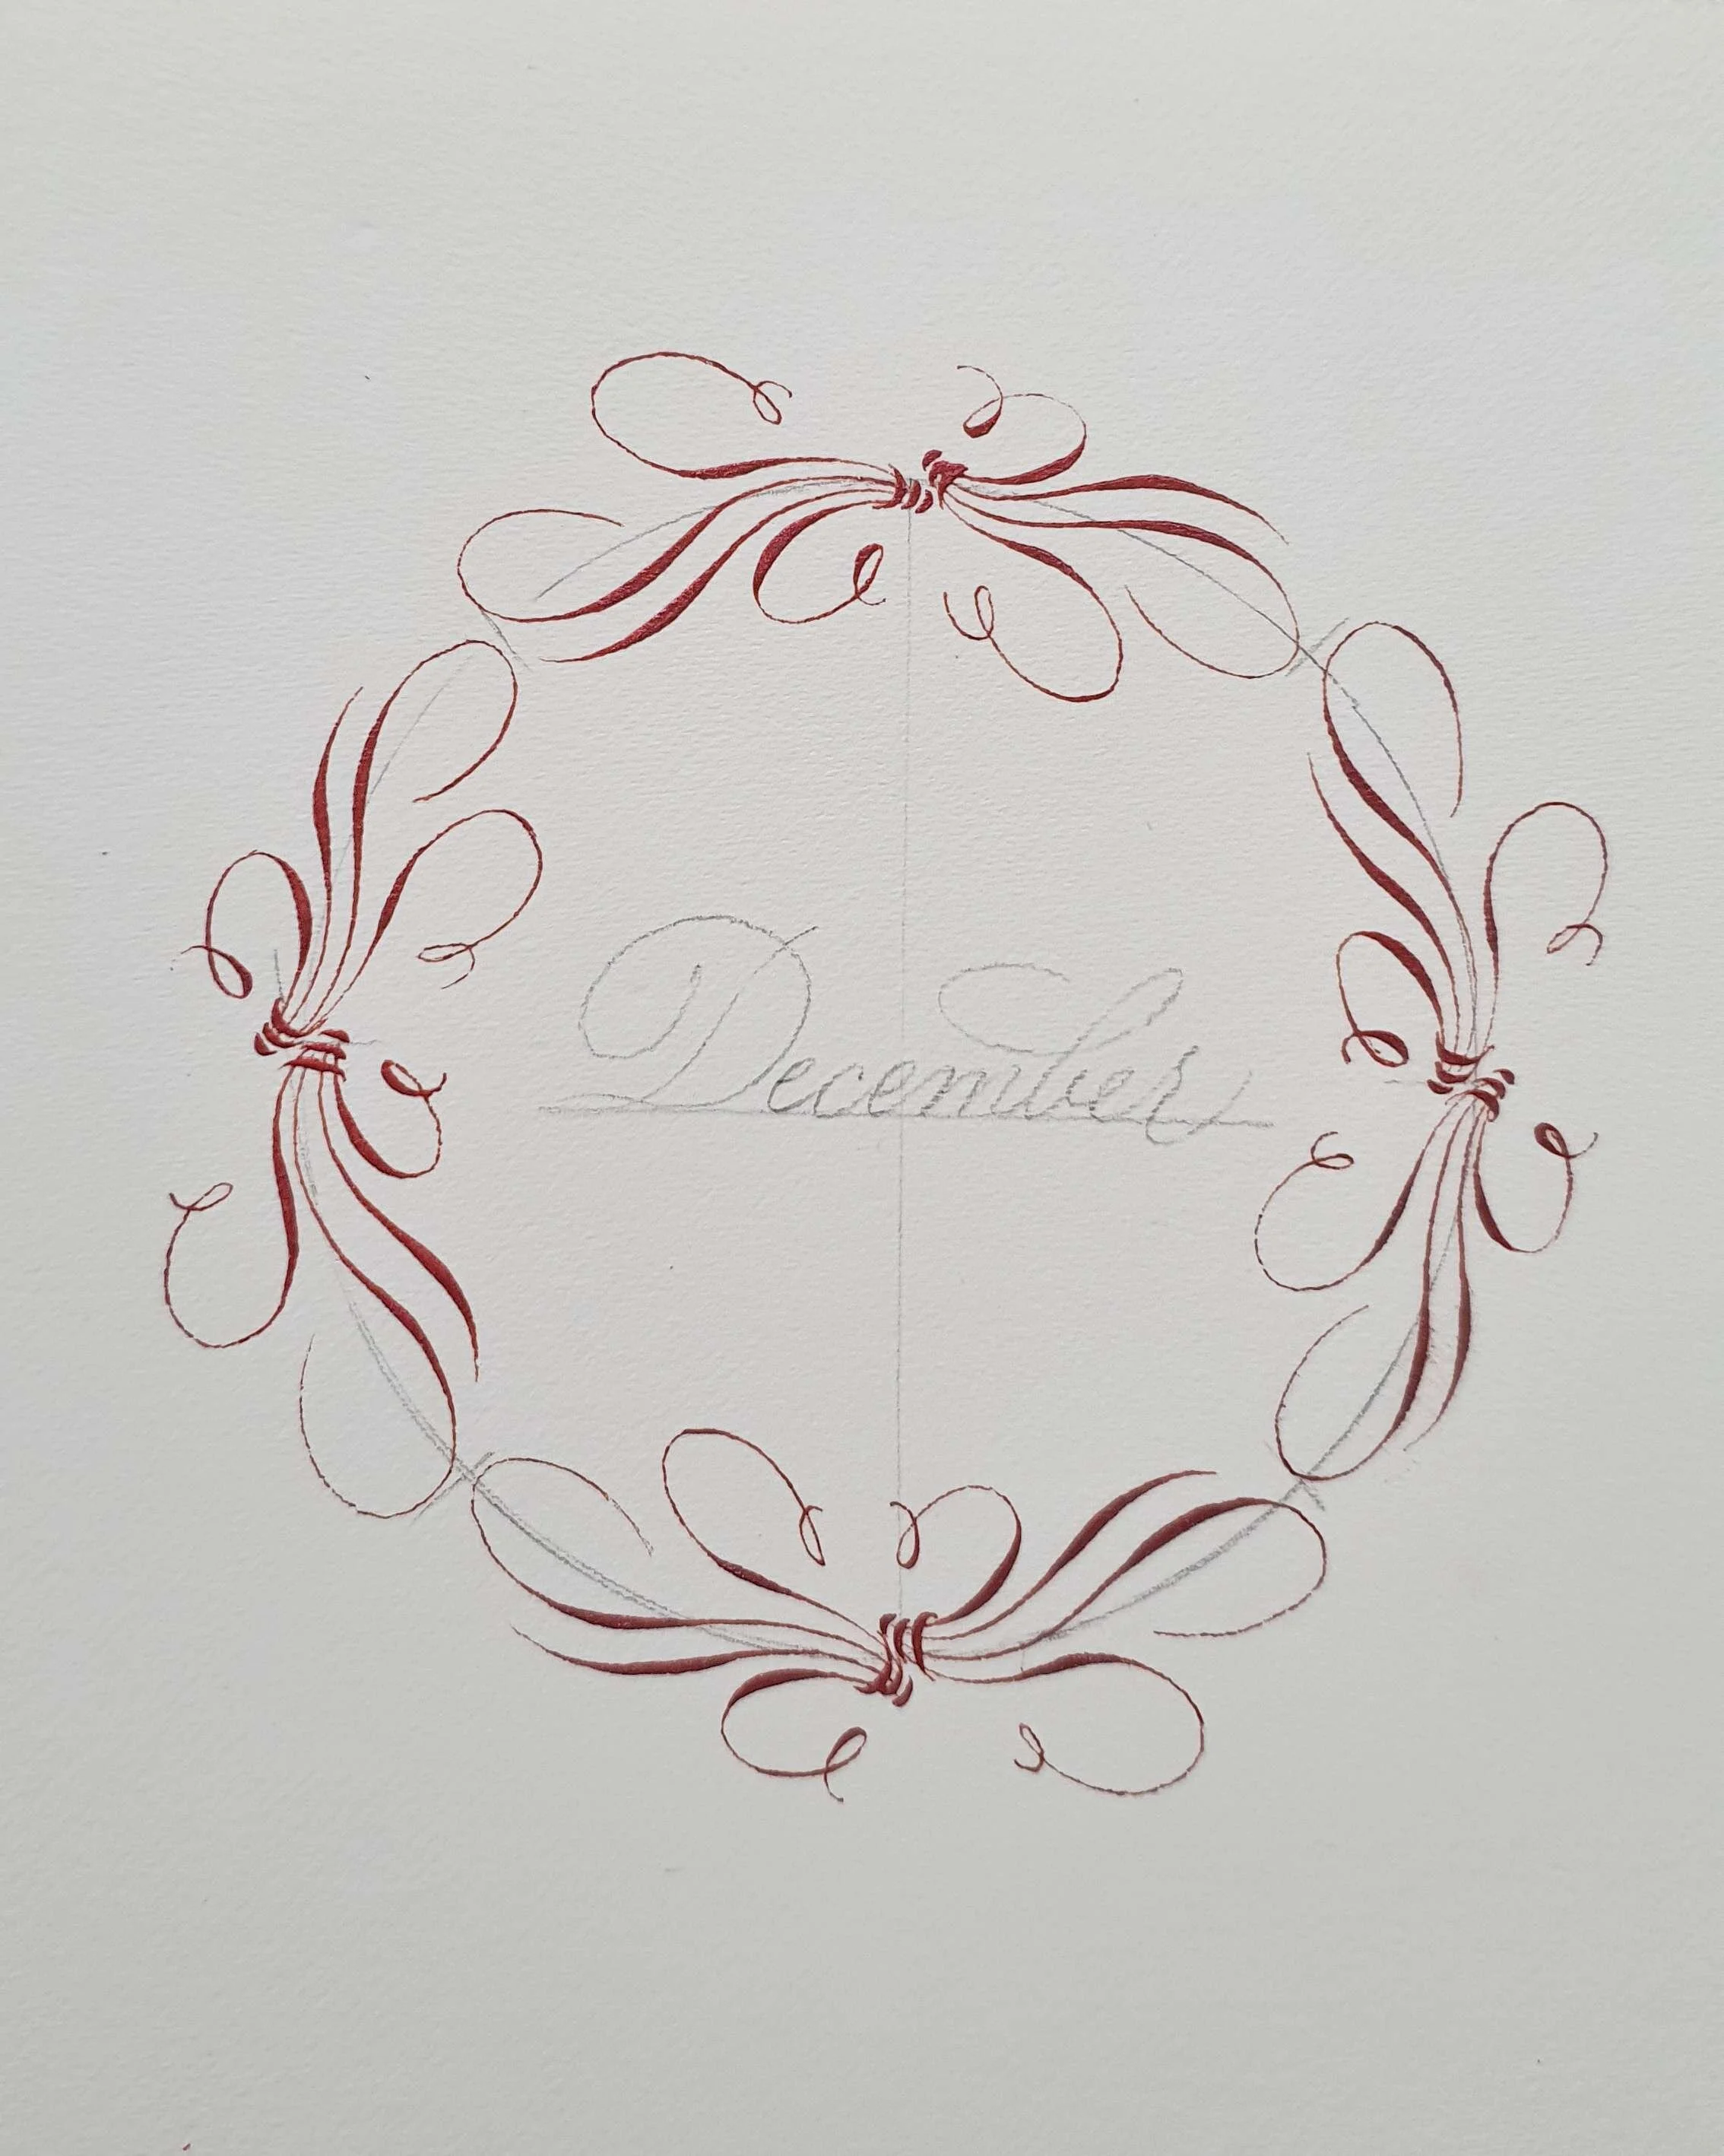
6. And finally, the wreath will be complete with a final set of cartouches on the left.
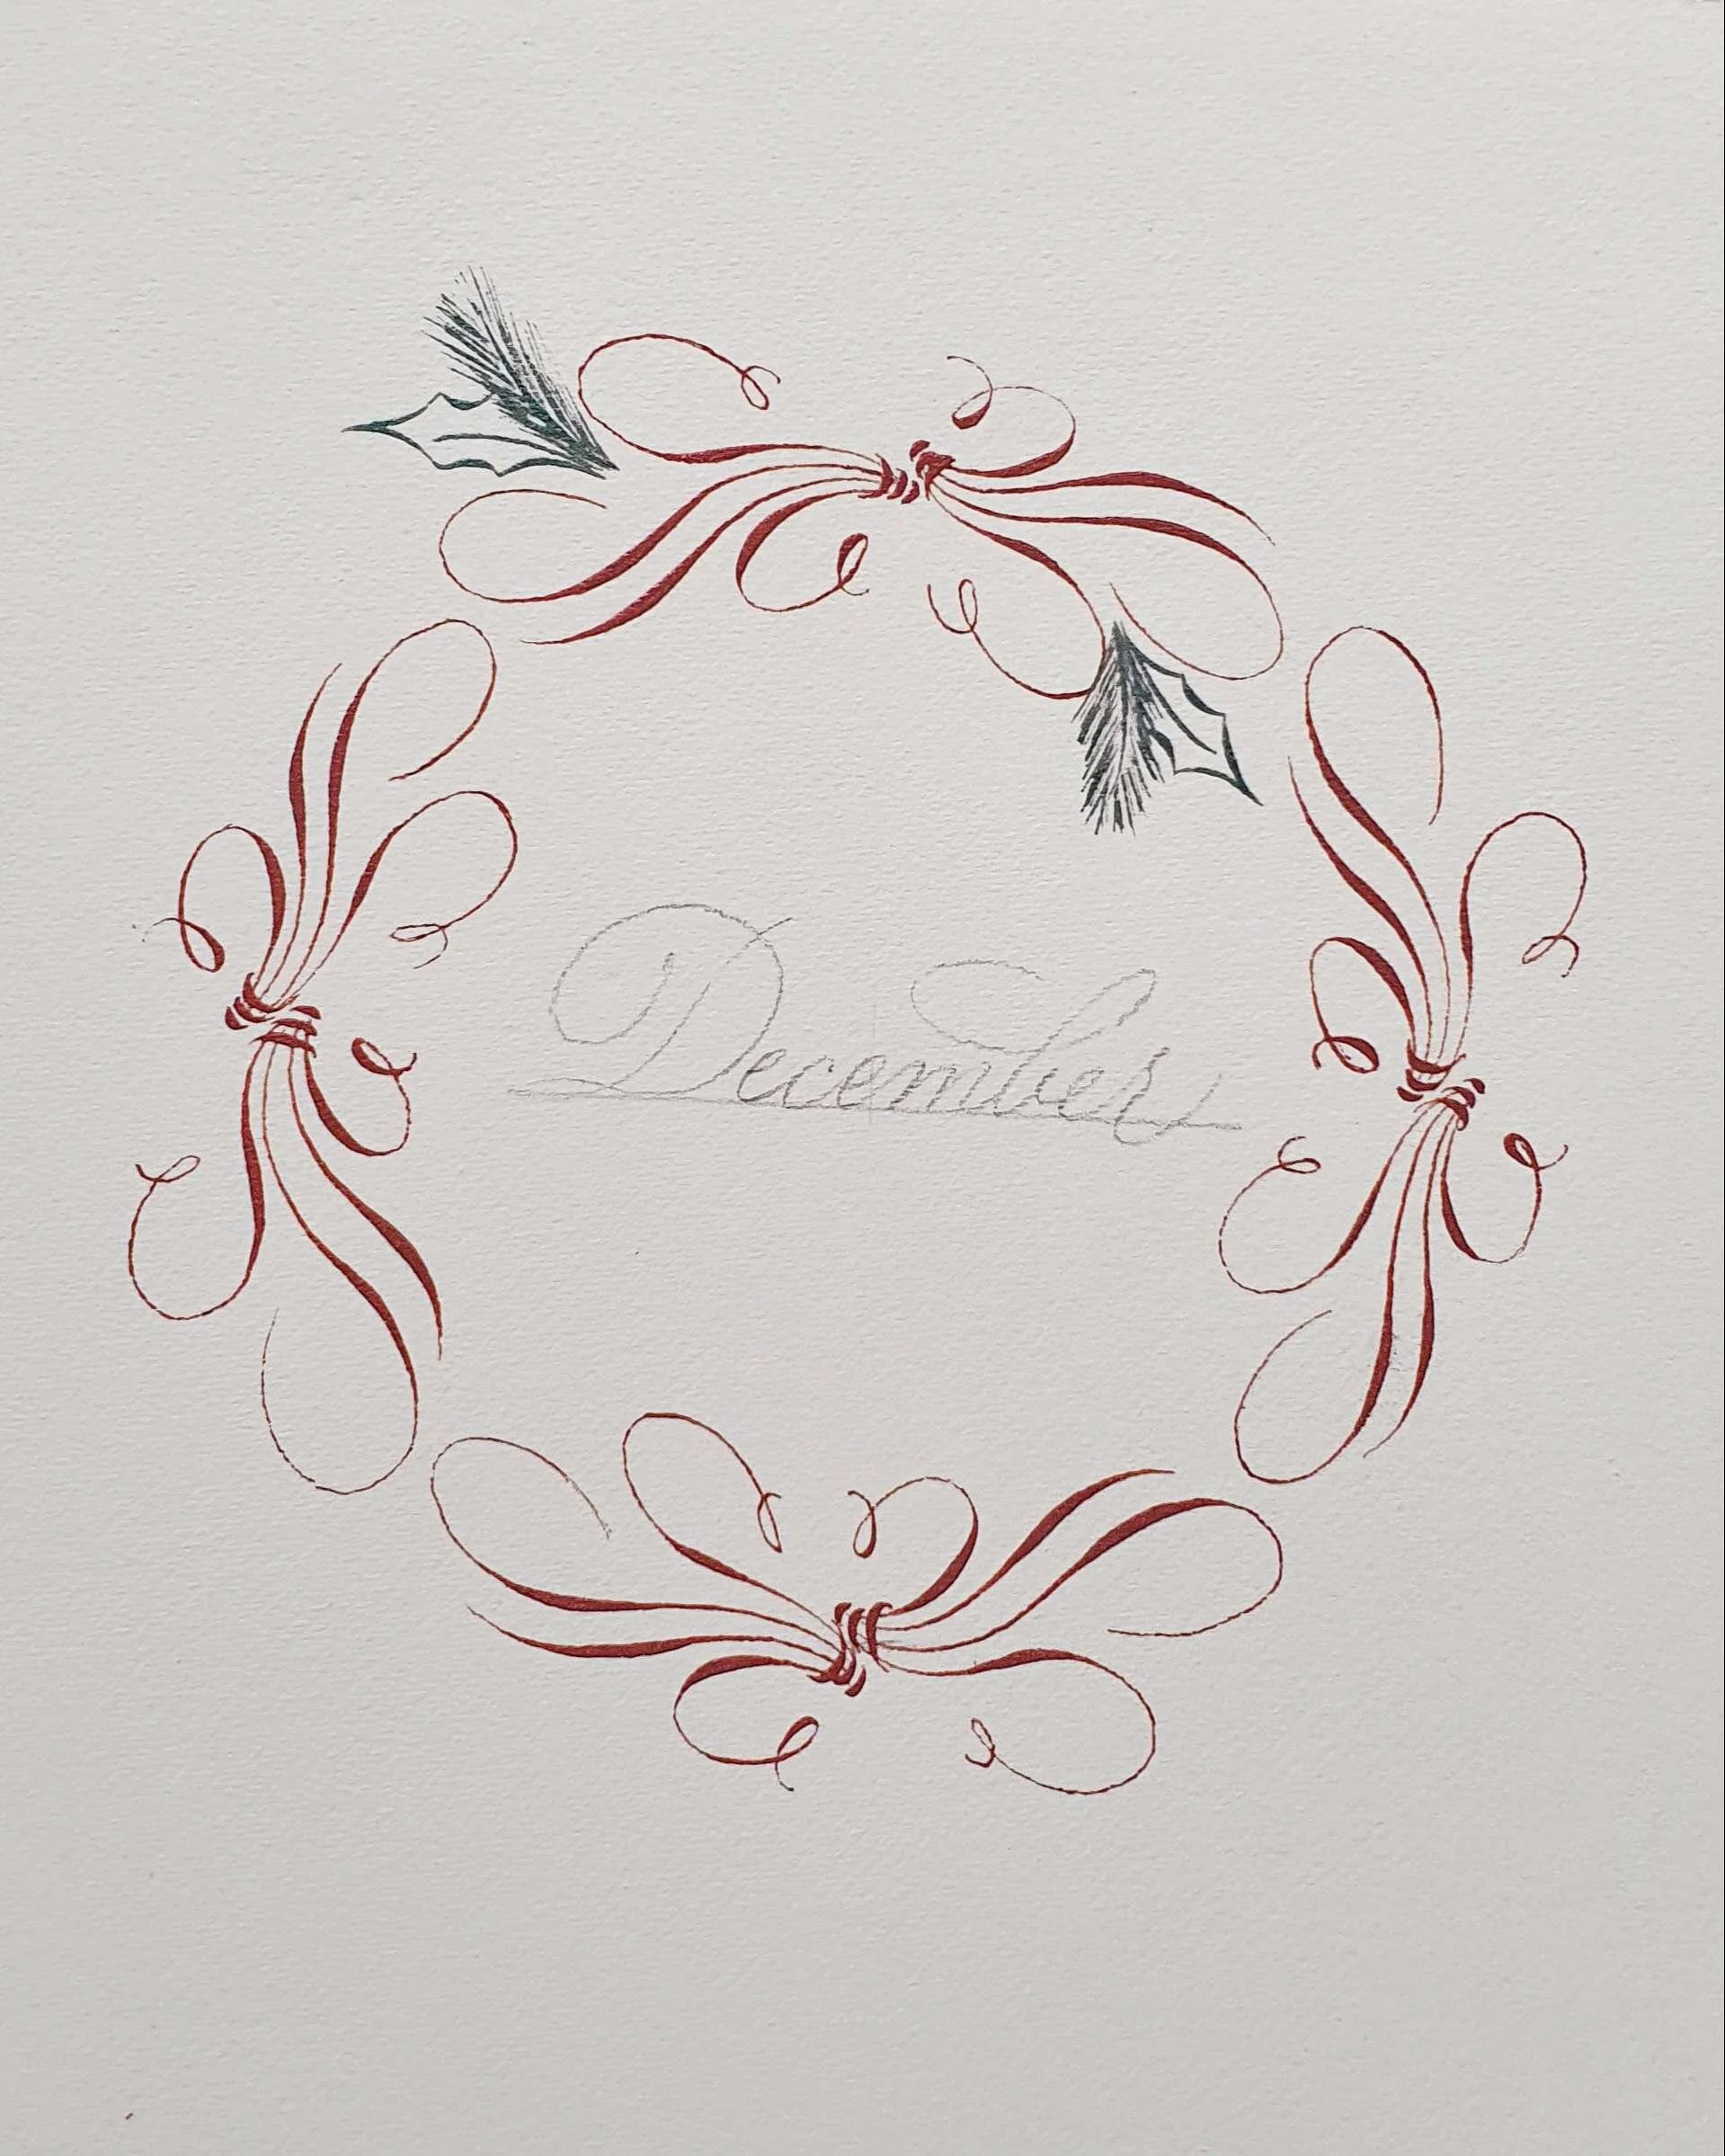
7. Now the fun begins. We’ll start adding embellishments in the negative spaces(pine or holly leaves, berries, dots, wheat, small branches etc.) the choices are endless.
8. I always start with the larger embellishments like leaves or bigger branches. Add a set of leaves across the wreath. The green ink is also from the Coliro range.
9. You can change combinations as you wish.
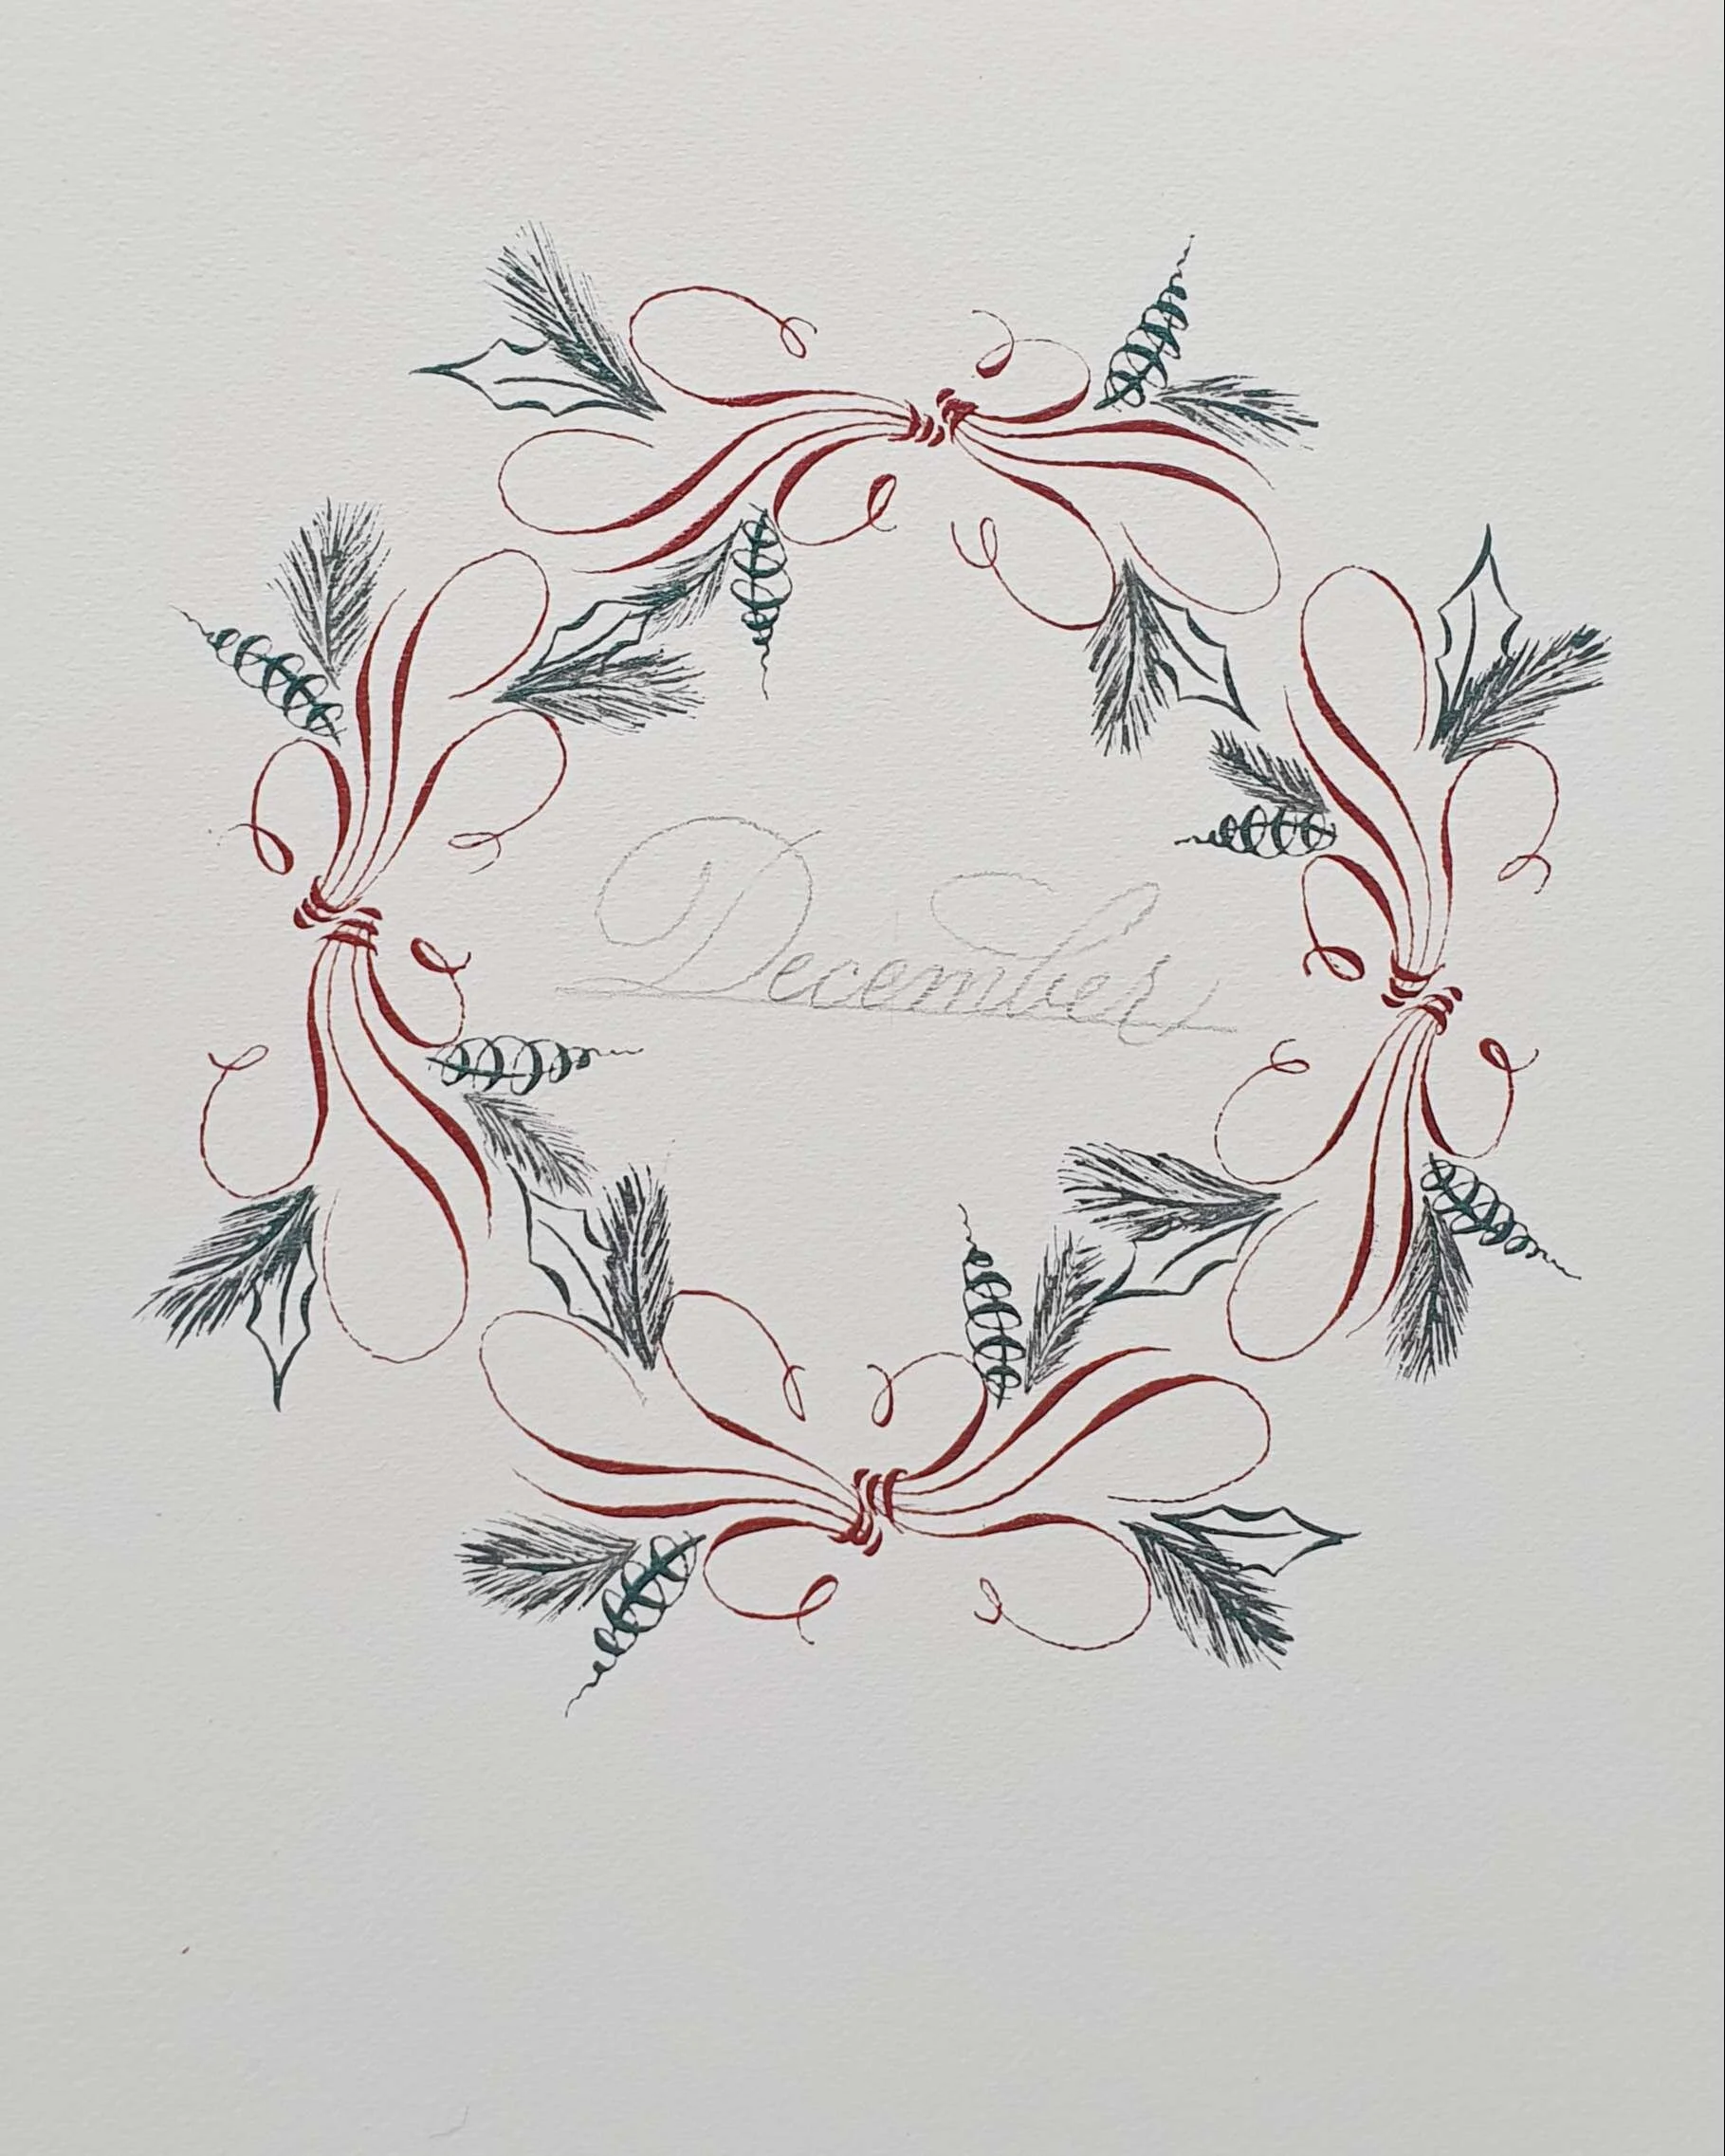
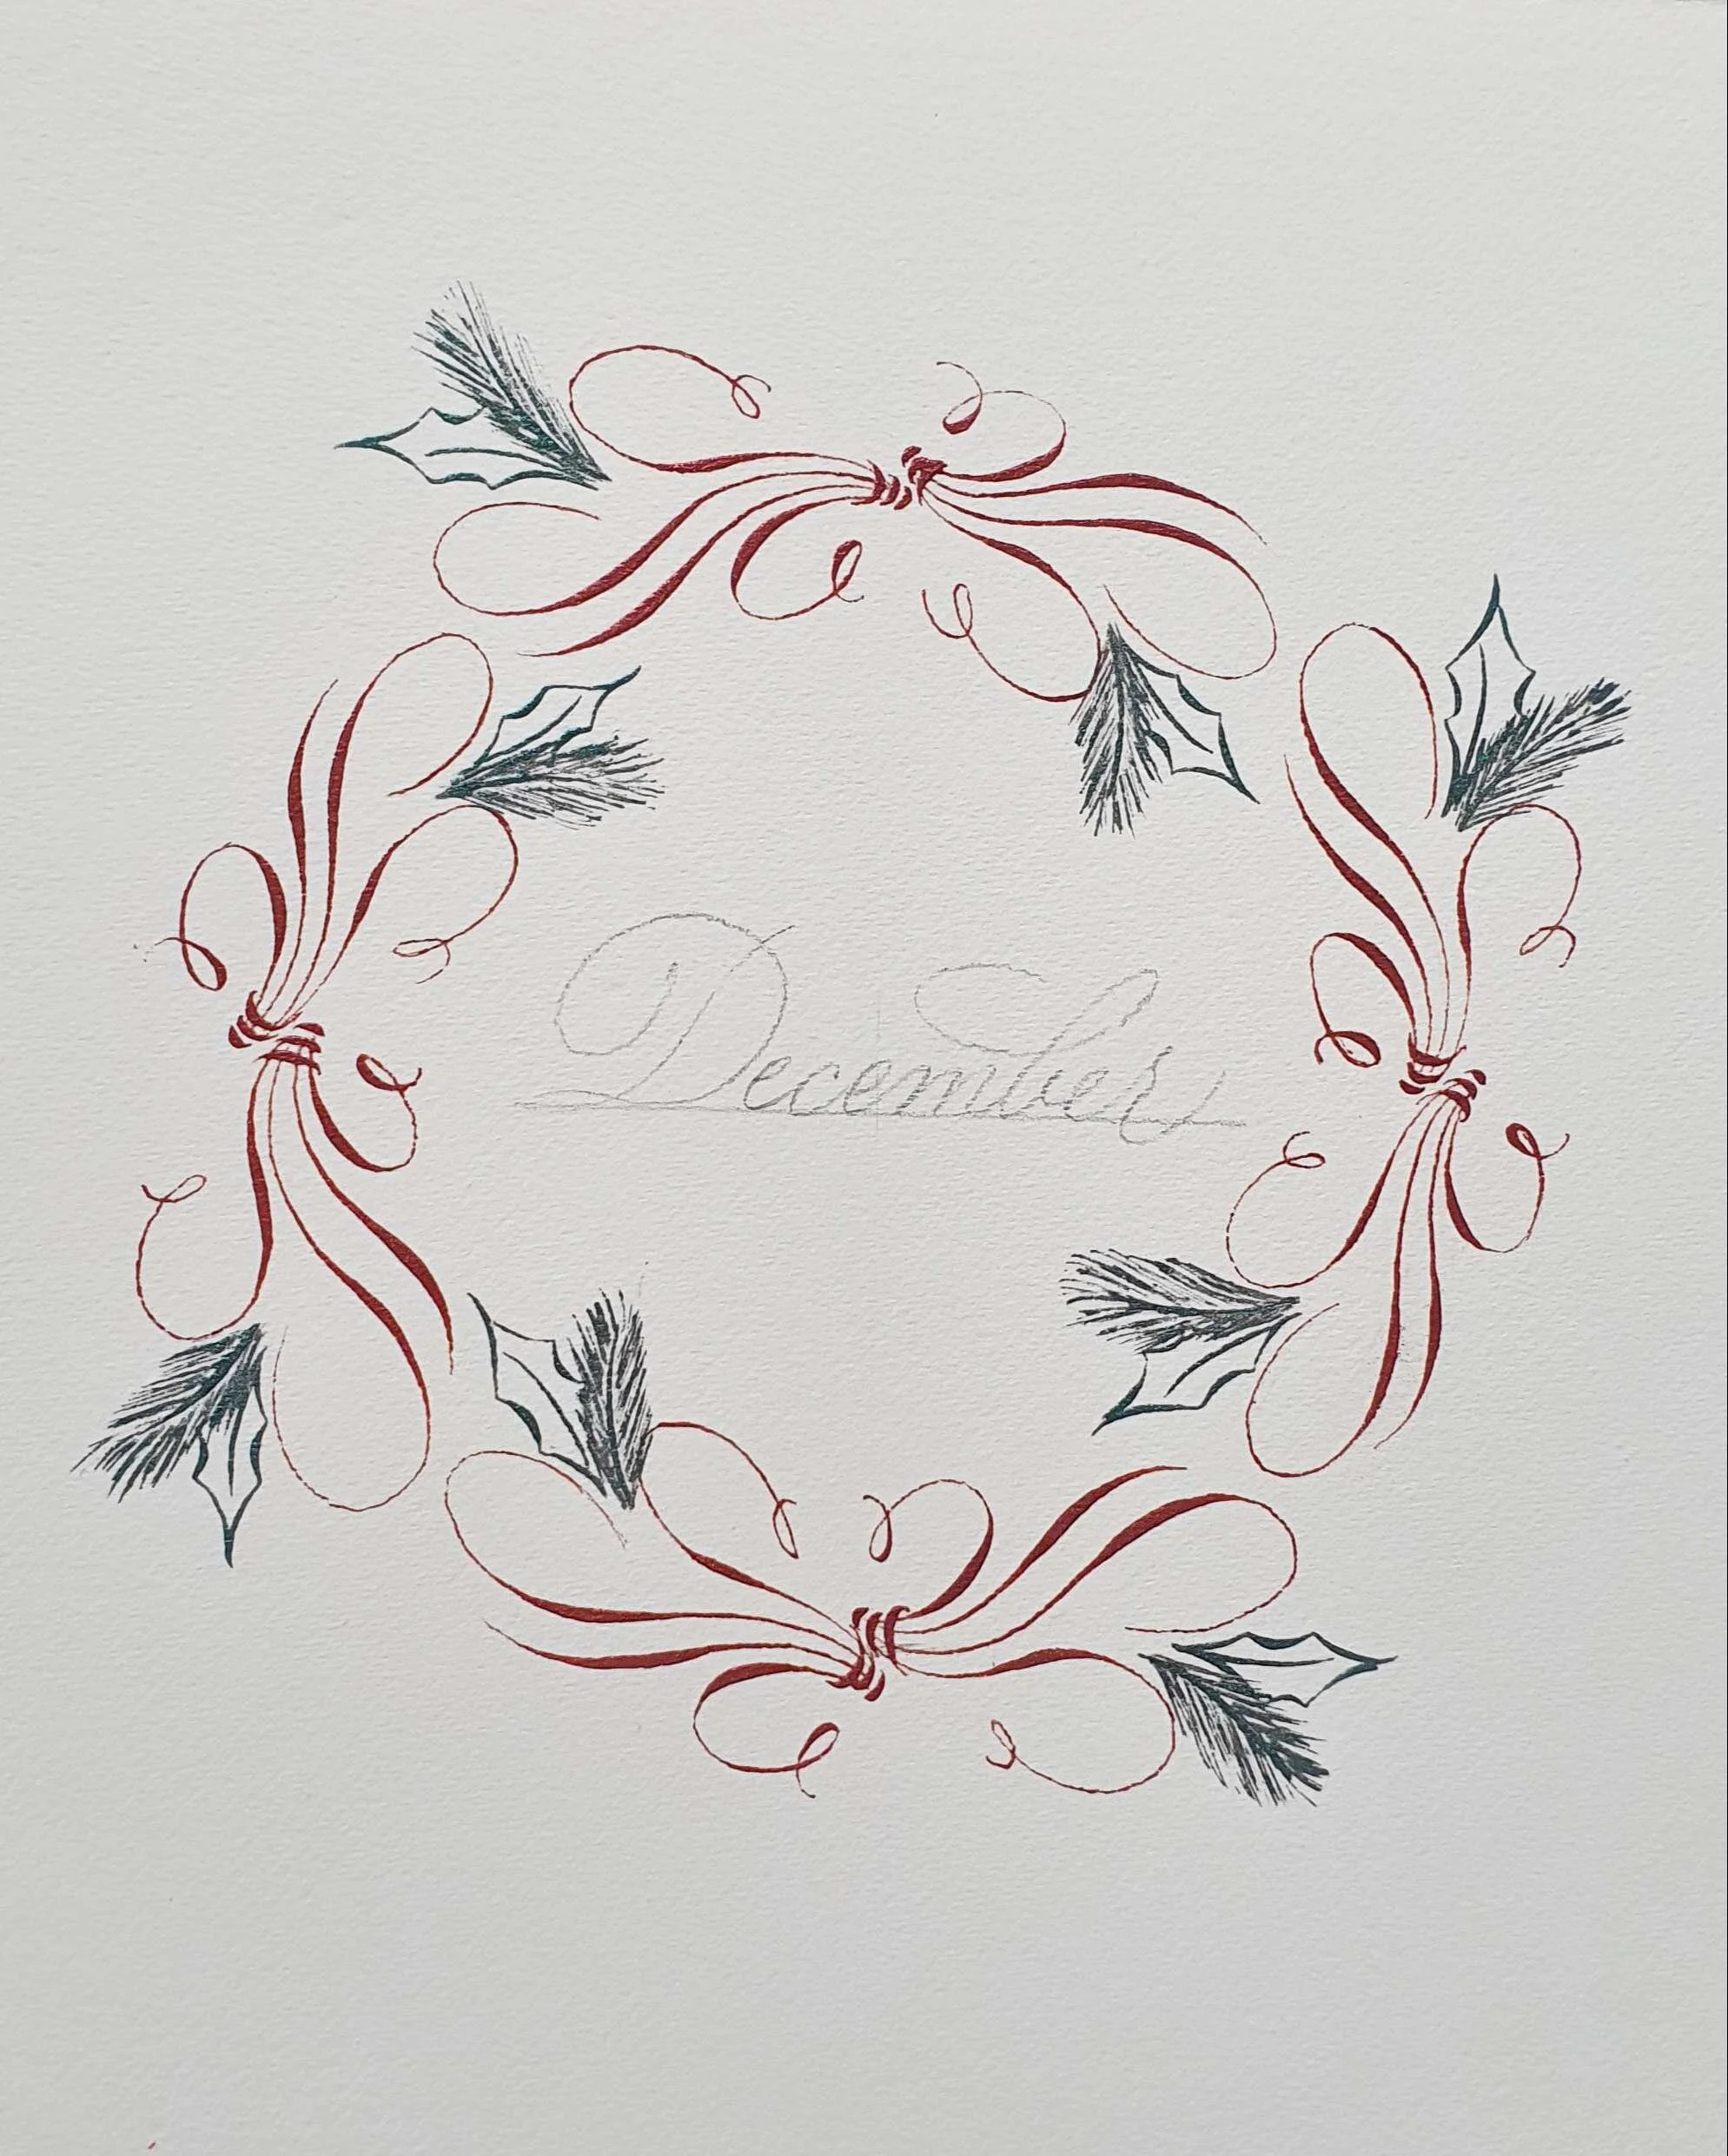
10. Rotate the paper so you can add the elements in the entire wreath.
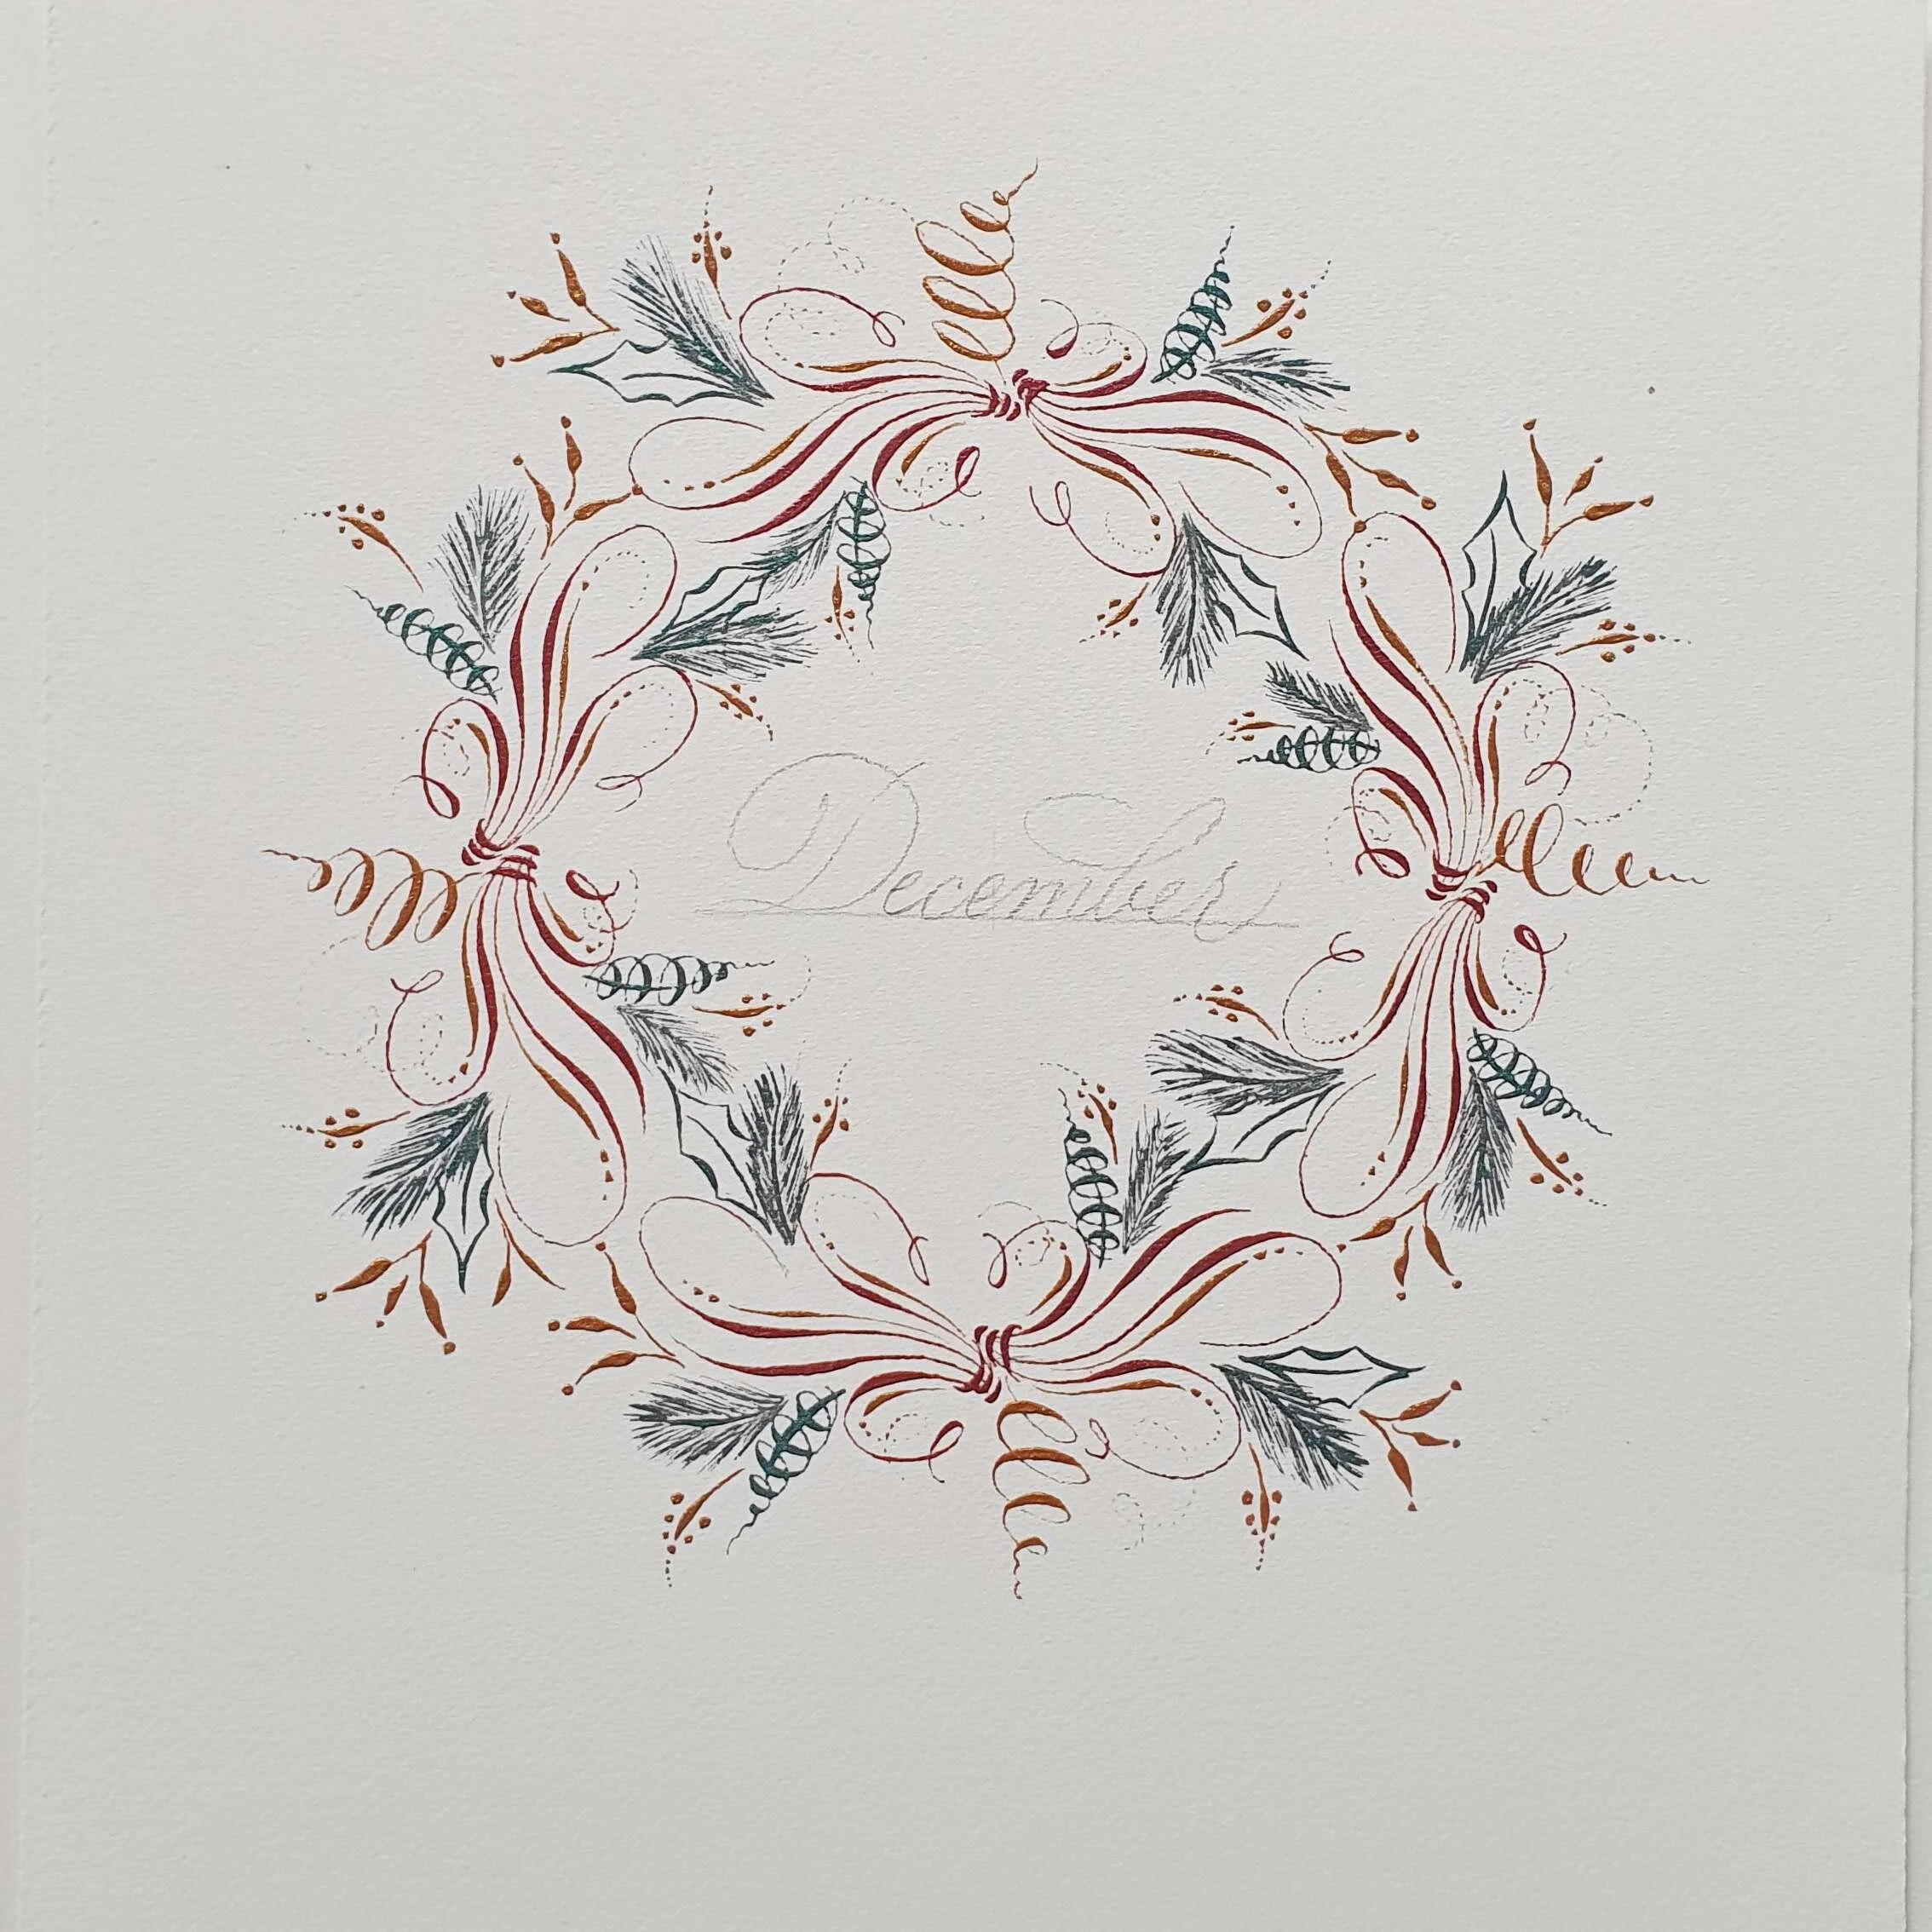
11. At this point, I changed the ink colour to gold (Arabic Gold from Coliro) and started adding the smaller embellishments. Remember, to rotate the paper as many times as needed. You might find it difficult knowing when to stop, but as a rule of thumb, remember, less is always more. The wreath still needs space to breathe and don’t think that you have to fill every space.
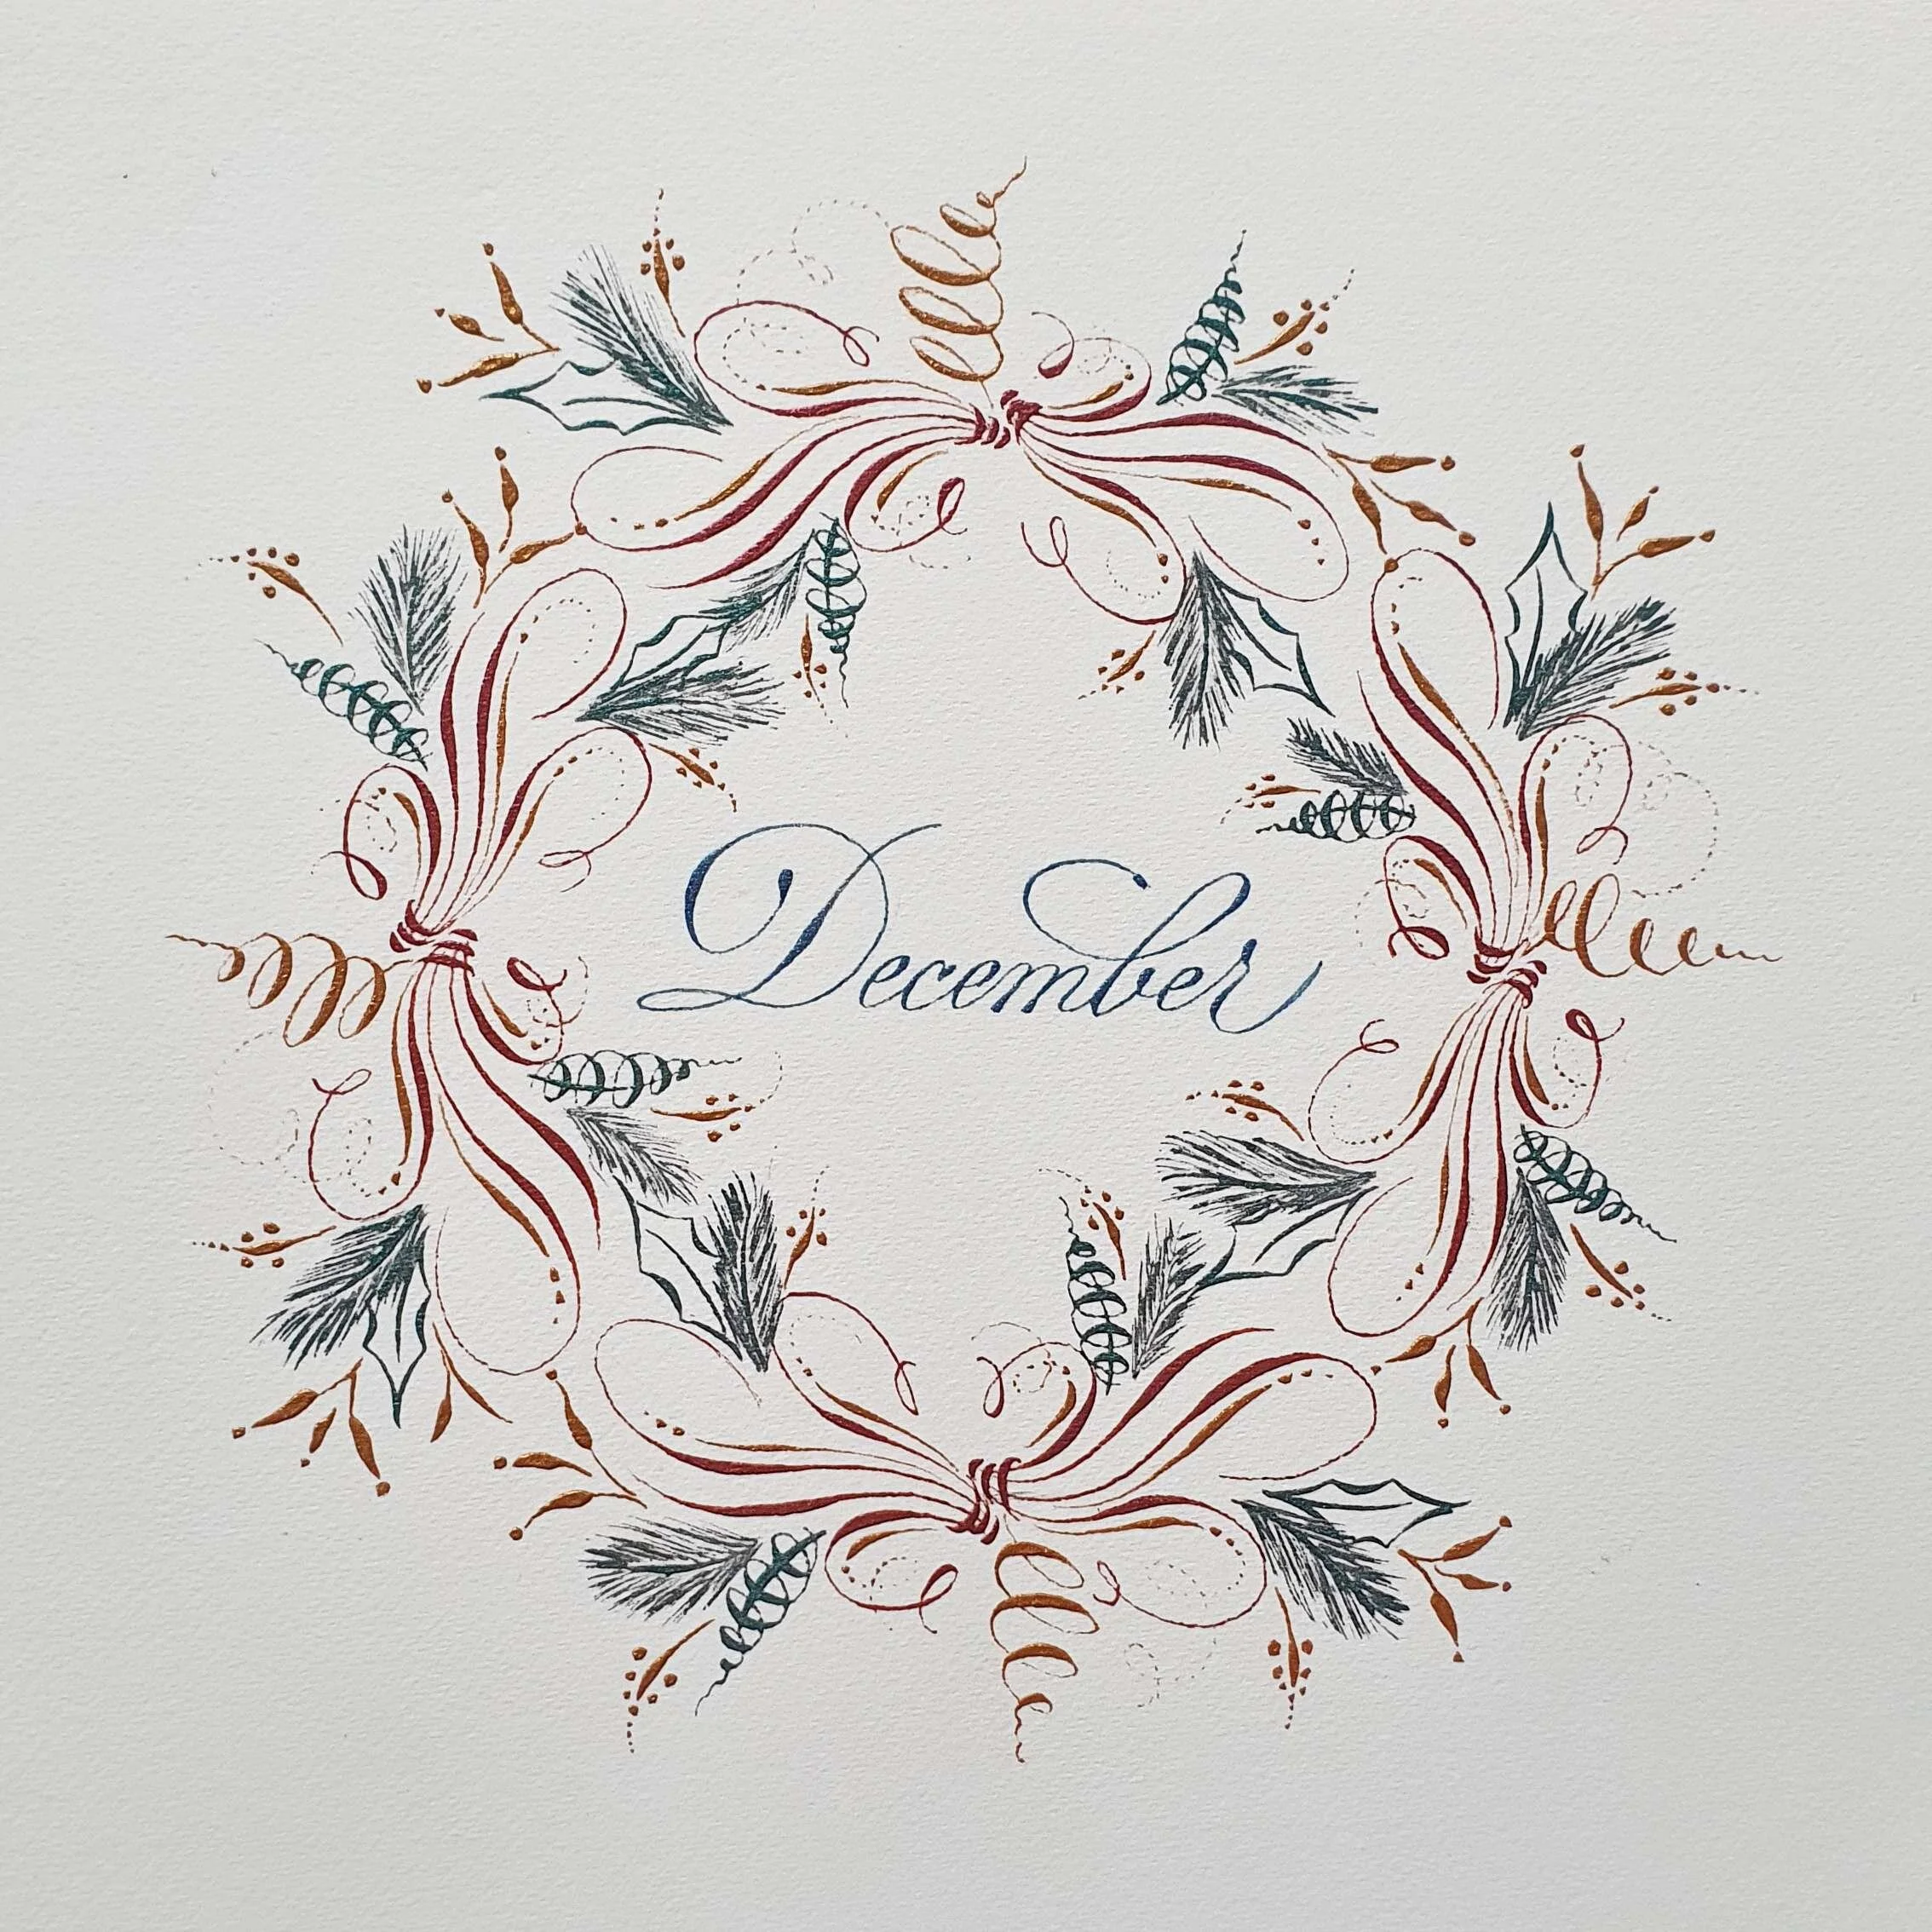
12. Write the word in your colour ink choice, let it dry thoroughly and erase all pencil marks with a kneaded eraser.
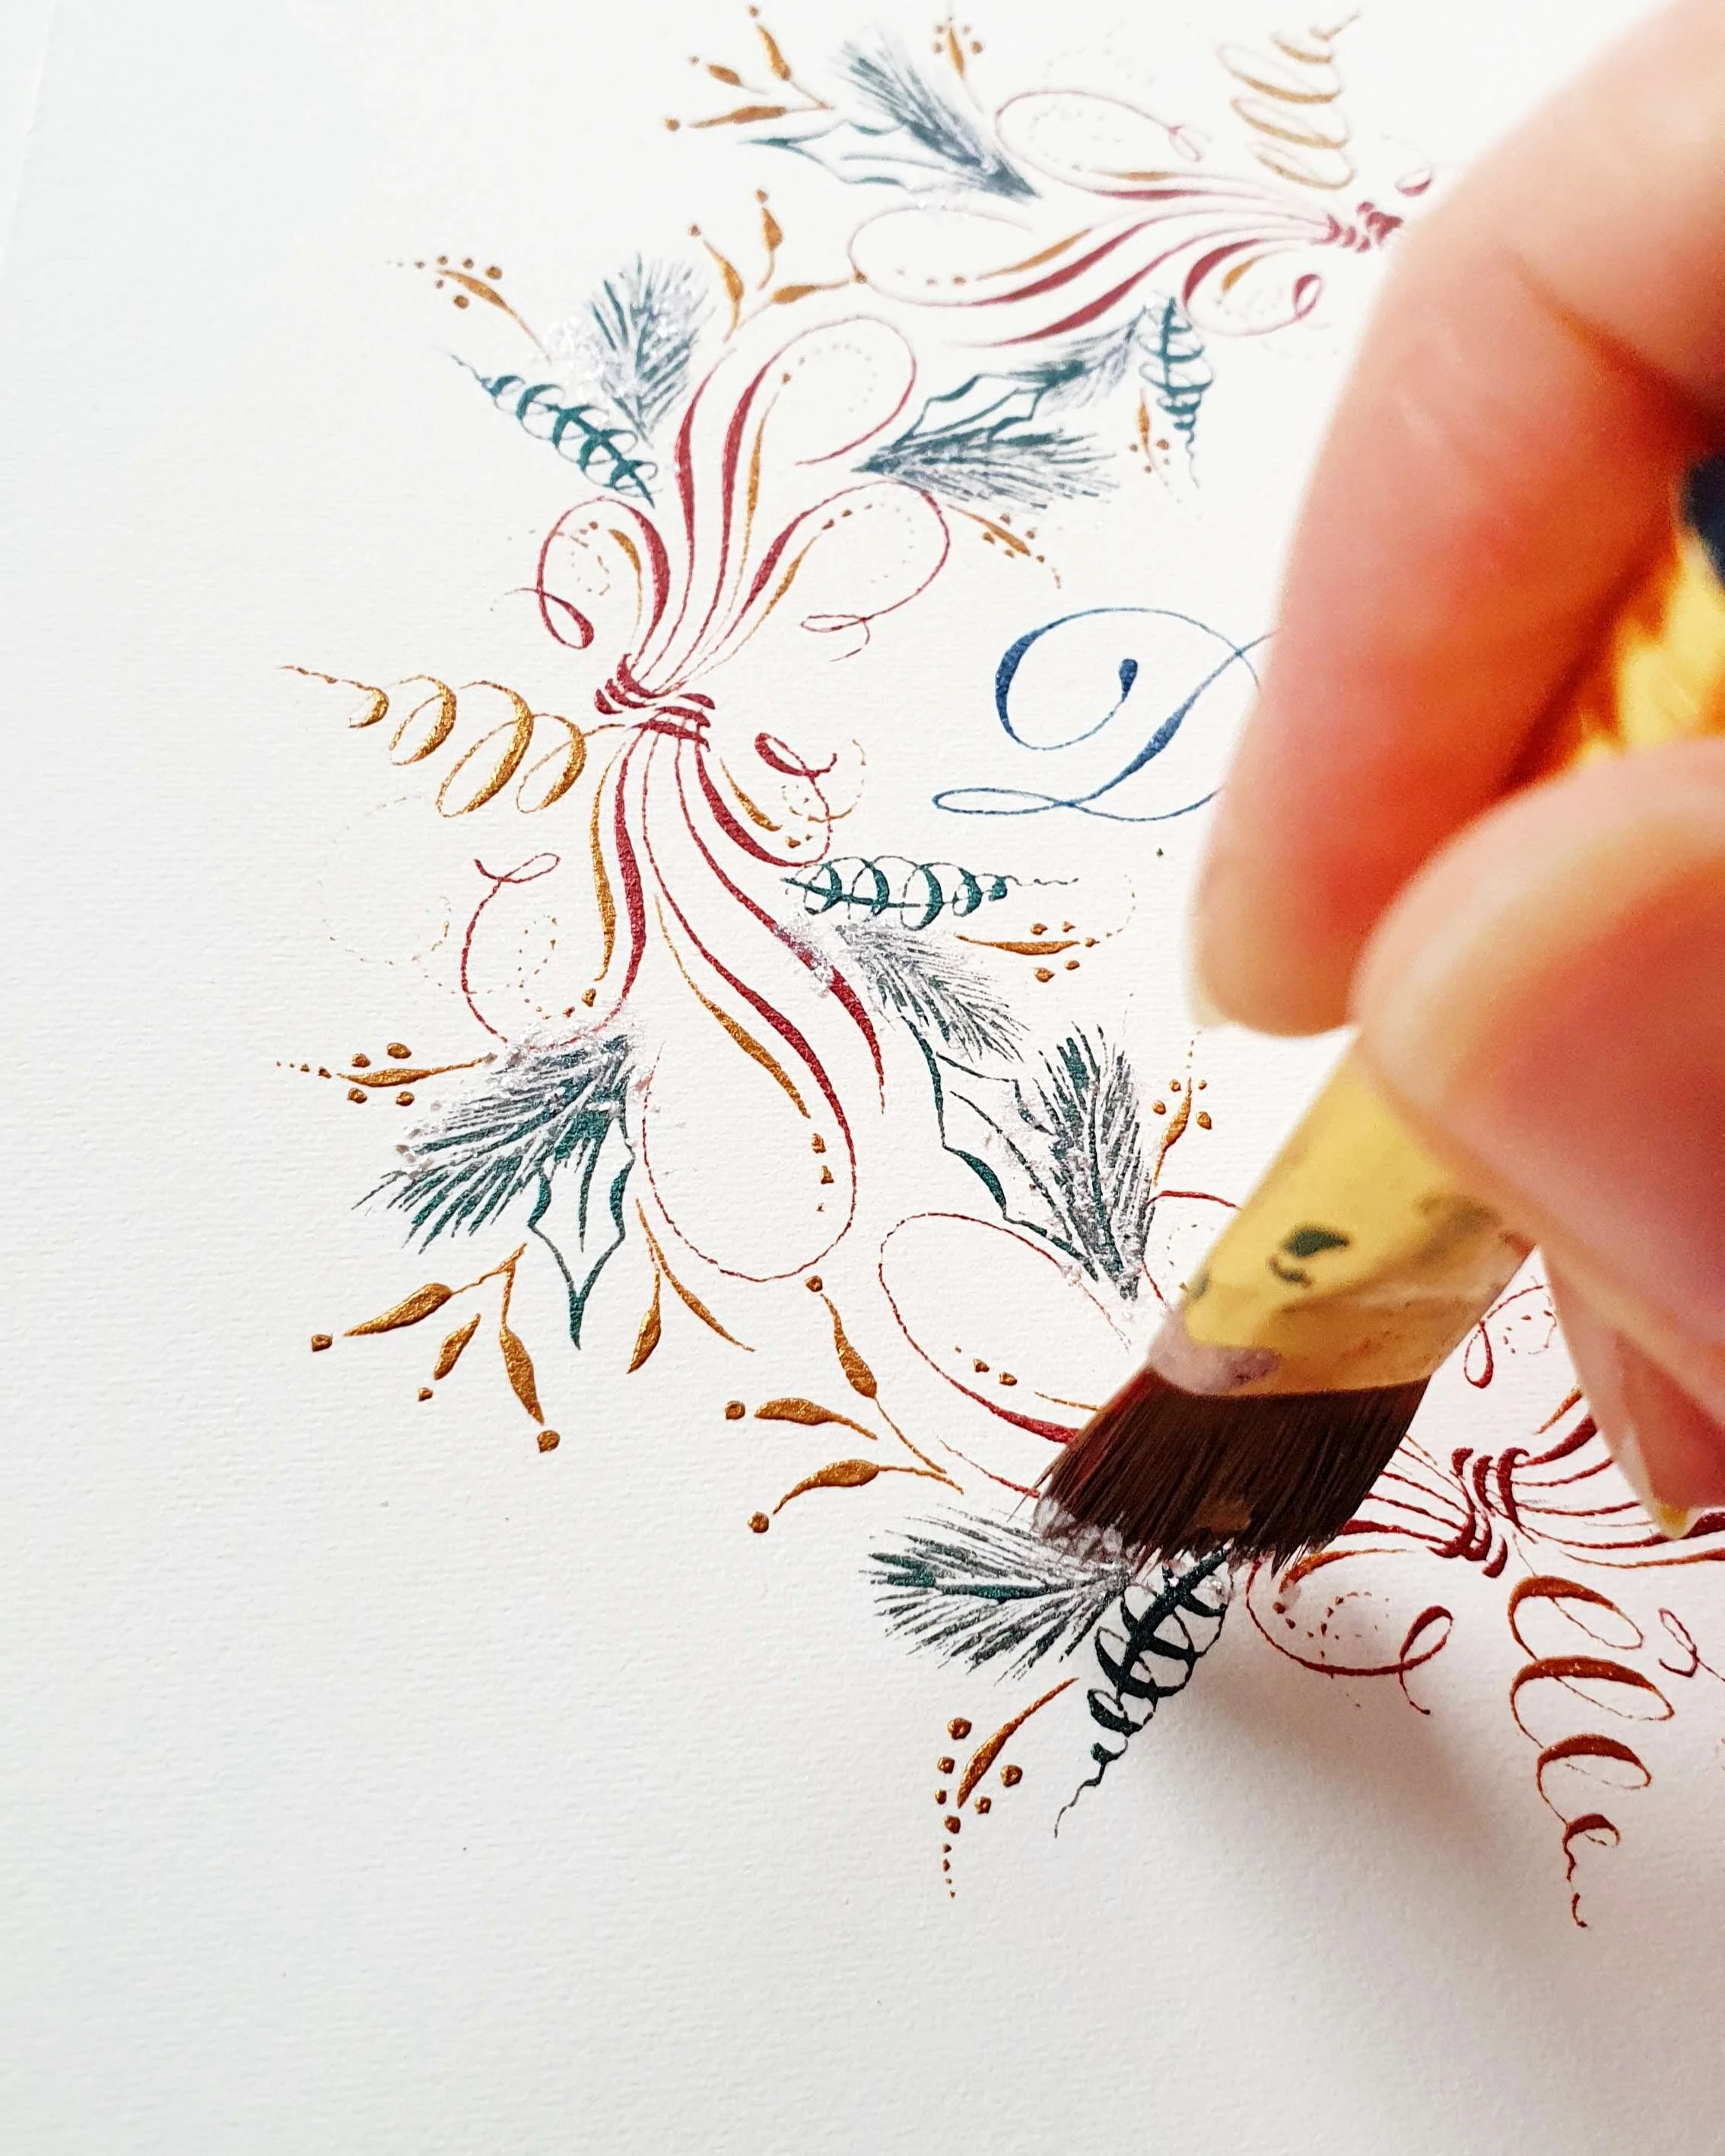
13. Now, my favourite embellishment - adding a snow effect. I used a straight big brush, quite firm and the ink colour for the snow is the ‘Stardust’ by Coliro. I find this particular colour very different from other regular colours. If never used it, I can tell you that has bits of stardust when you mix it. And I only added a few drops of water.
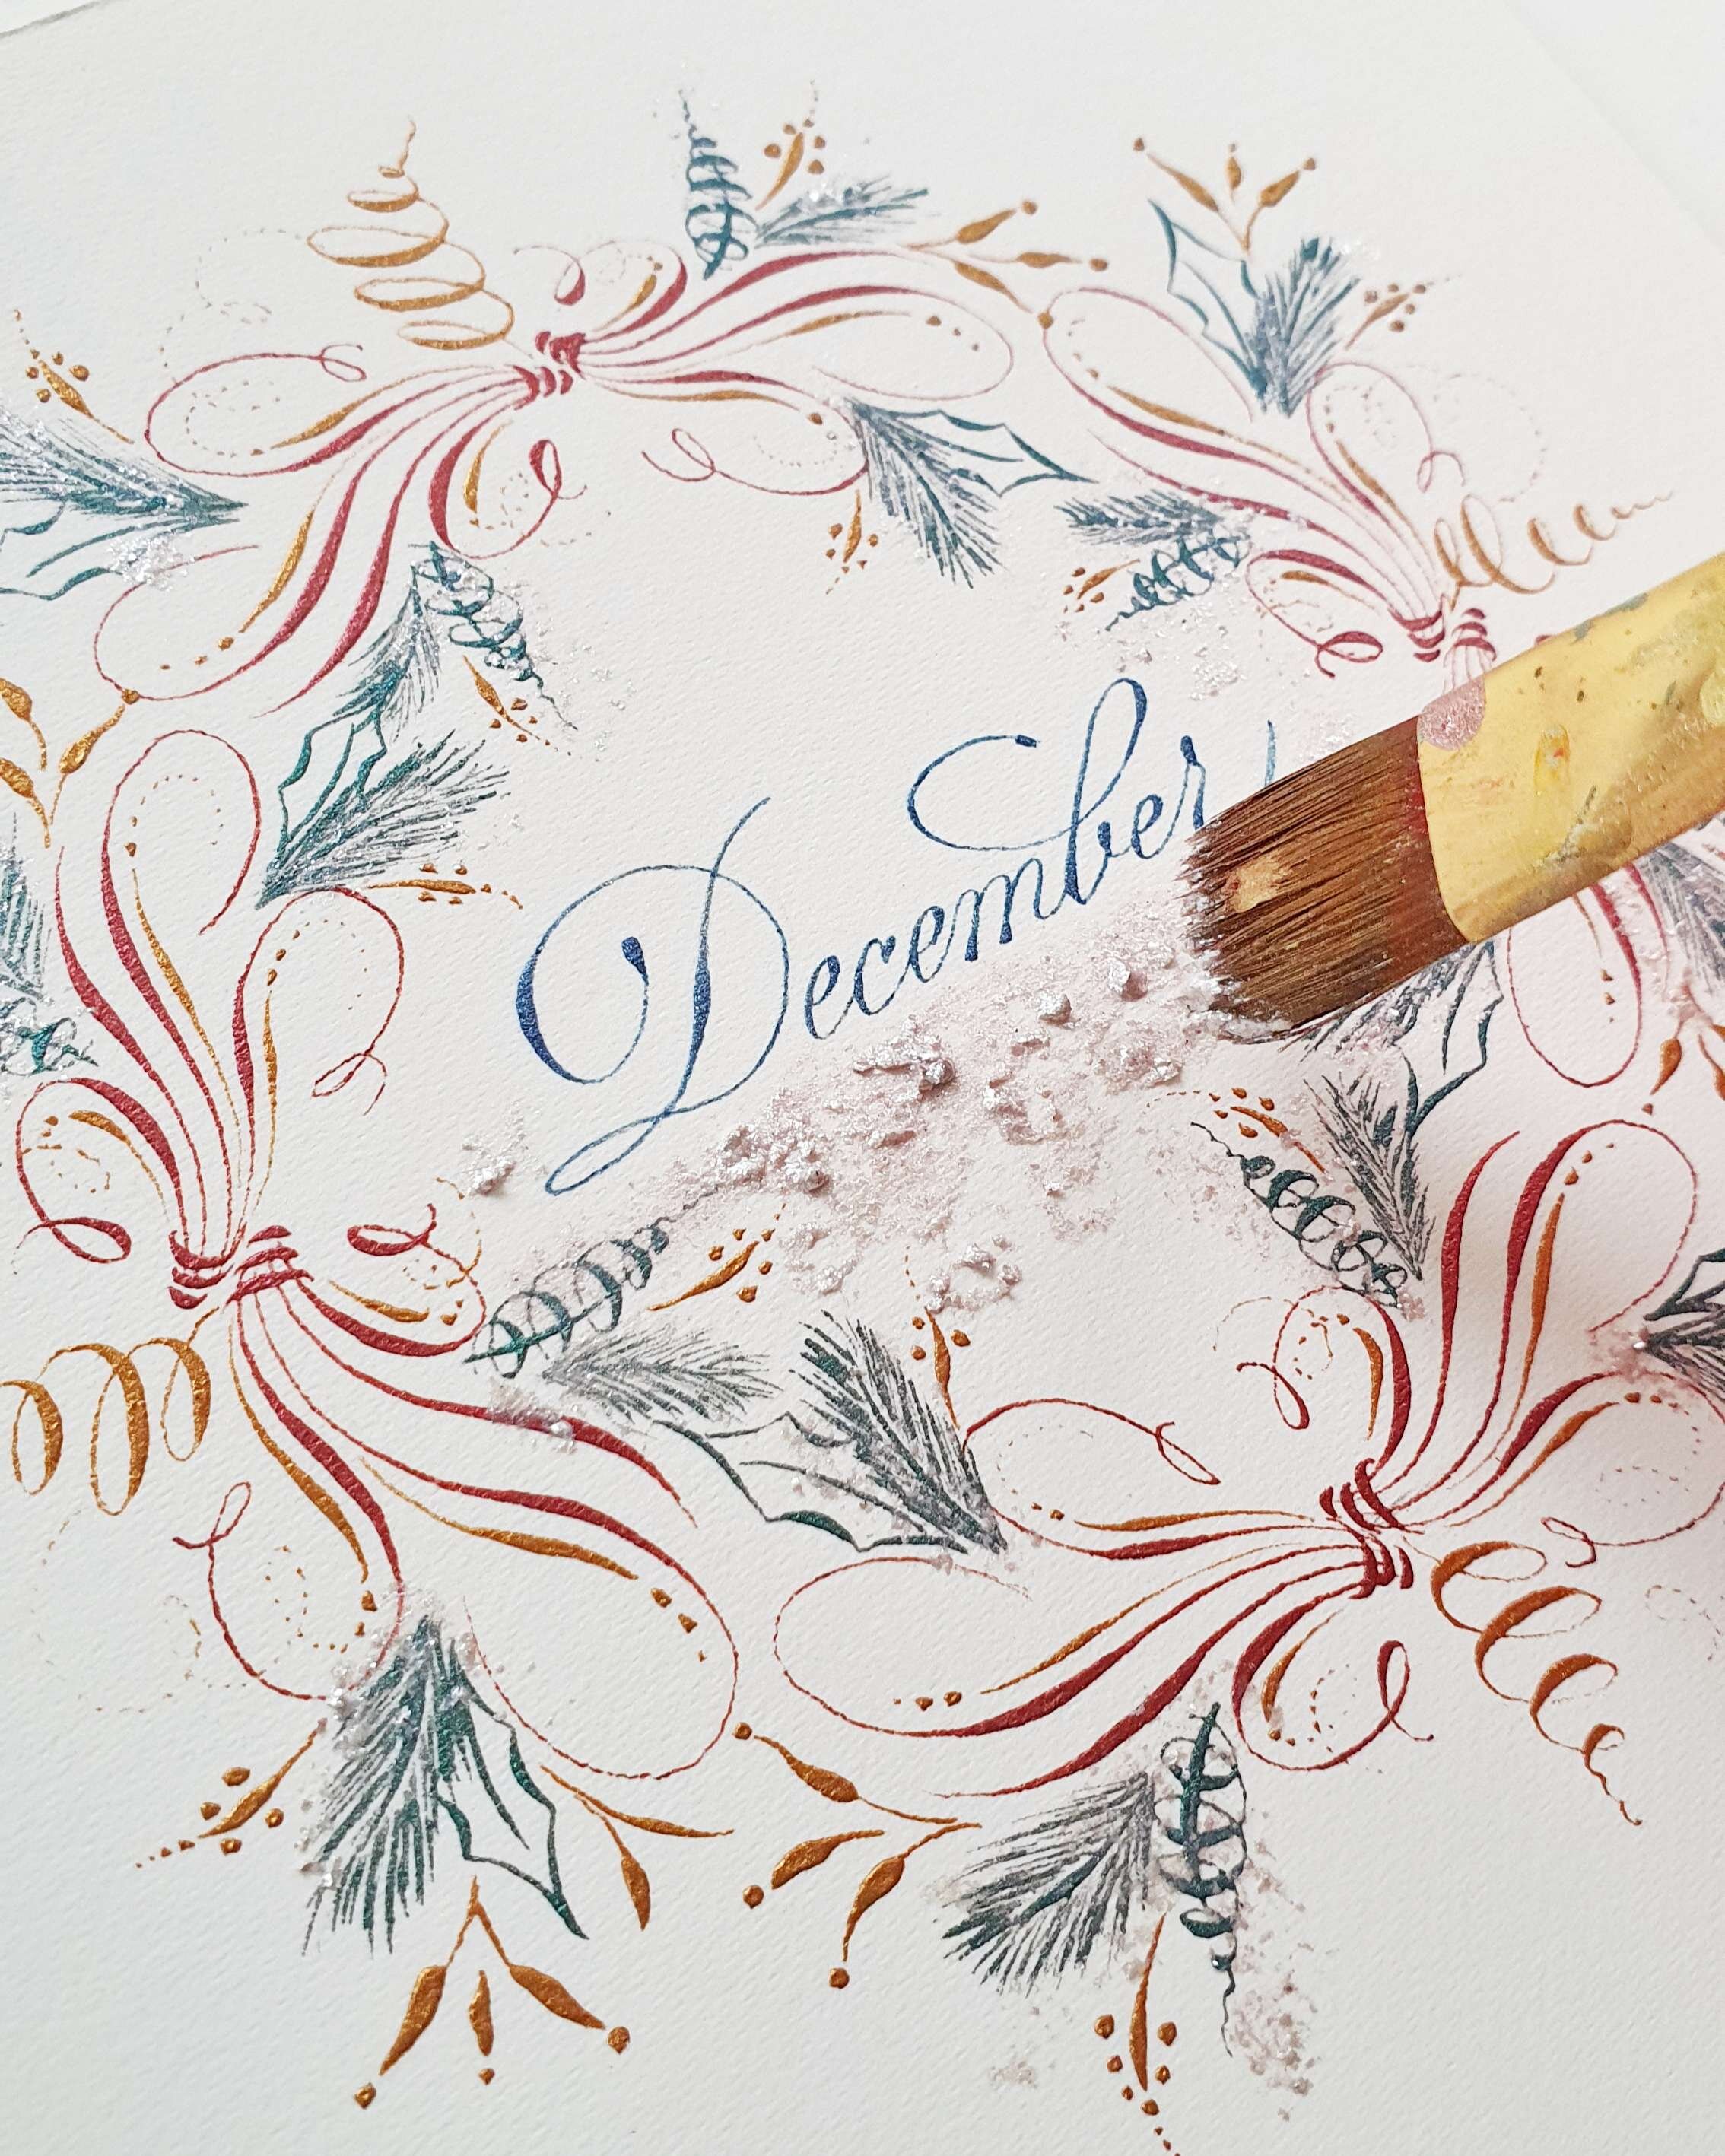
14. Take a good amount of colour on the brush, and start applying it by keeping the brush perpendicularly on the paper. I added stardust colour on the leaves and under the word to create an impression of snow. I have intentionally applied more bits of stardust to create some frosty 3D snow effect.

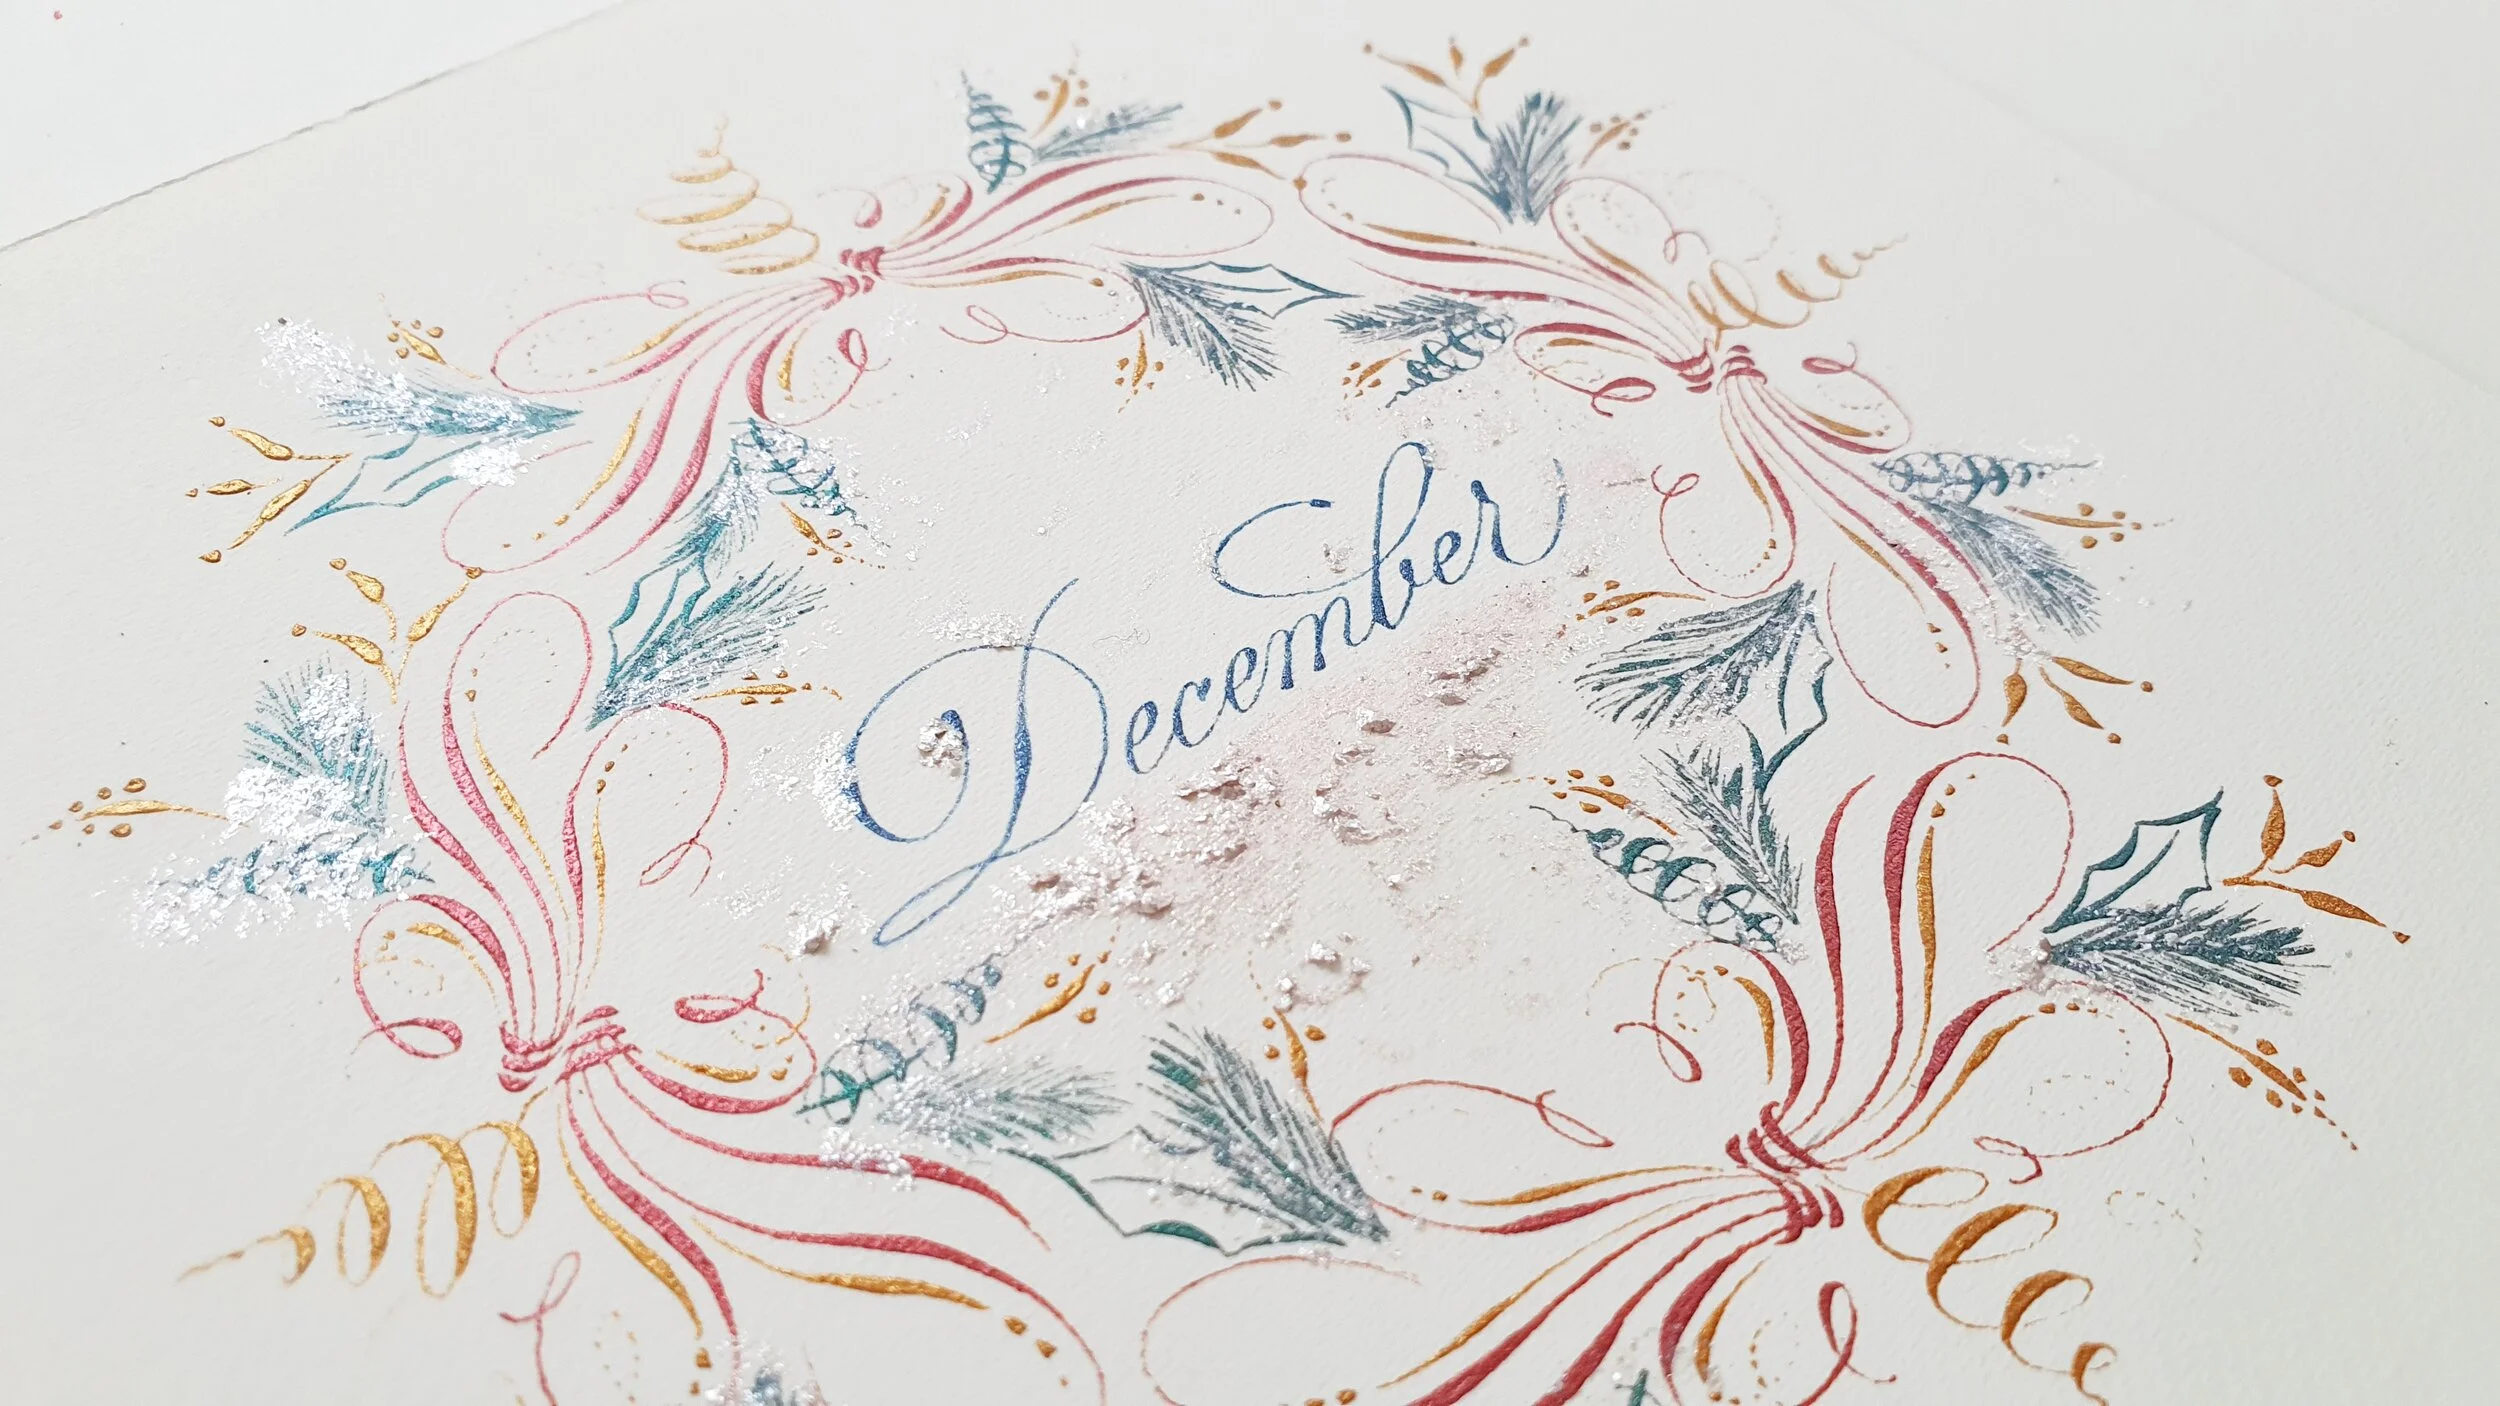
And this is the final result. The photo doesn’t do its justice, because the stardust, in reality, is so shiny, but hard to capture.
I hope you’ll find this post useful and you give it a try.
Feel free to experiment with any colours and embellishments you wish. Please tag me on social media @ulianapopacalligraphy so I can give you some love.
I wish you all a very, merry Christmas and a Happy New Year!
With love,
Uliana x